I first saw the Midori Traveler's Notebook on Analog Paper's blog. I was intrigued by the beautiful leather cover and its unique shape, but when I saw the price, I felt a little guilty about spending that amount of money on a notebook.
A few weeks later, I checked Amazon again and the price had dropped significantly. I took the plunge and ordered my first Midori in brown. When I received it, I instantly fell in love and placed an order for a second one in black.
This simple little notebook has a cult following, and I have grown to understand why. I love the quality of the paper and how beautifully the leather cover is aging. The design of the Midori is simple and ingenious. Each notebook or insert is held in place with an elastic band. There are different styles of notebooks and inserts available. You can use your Midori as a straight up notebook or planner, or add additional bands and fill it with as many inserts as you can and turn it into a wallet or compact carry-all. I have seen other creative users make their own inserts and folders, but I haven't got around to making my own just yet. The possibilities for setting up a Traveler's Notebook are endless and only limited by your imagination!
I currently only have two notebooks in my black Midori (shown here). Both of them are the Refill 003. I like the quality and thickness of the paper in this refill. I have also tried Refill 013 but prefer the thickness of the pages in 003.
I use one notebook in my black Midori for hand lettered quotes and the other as a photo journal, which is what I am sharing with you today. It took some trial and error to find a style for my photo journal that I was happy with. I tried modeling my pages after ones I had seen on Instagram and Pinterest, but a lot of them were collage layouts which I have never quite gotten the hang of making.
Them one day I visited Baum-kuchen and that wonderful experience was the jump-start I needed to fuel my journaling. The creative ambiance and charming displays in Wakako's shop inspired me and a few days later, I used the photos I had taken in her shop to make my first ever journal entry that really felt like me.
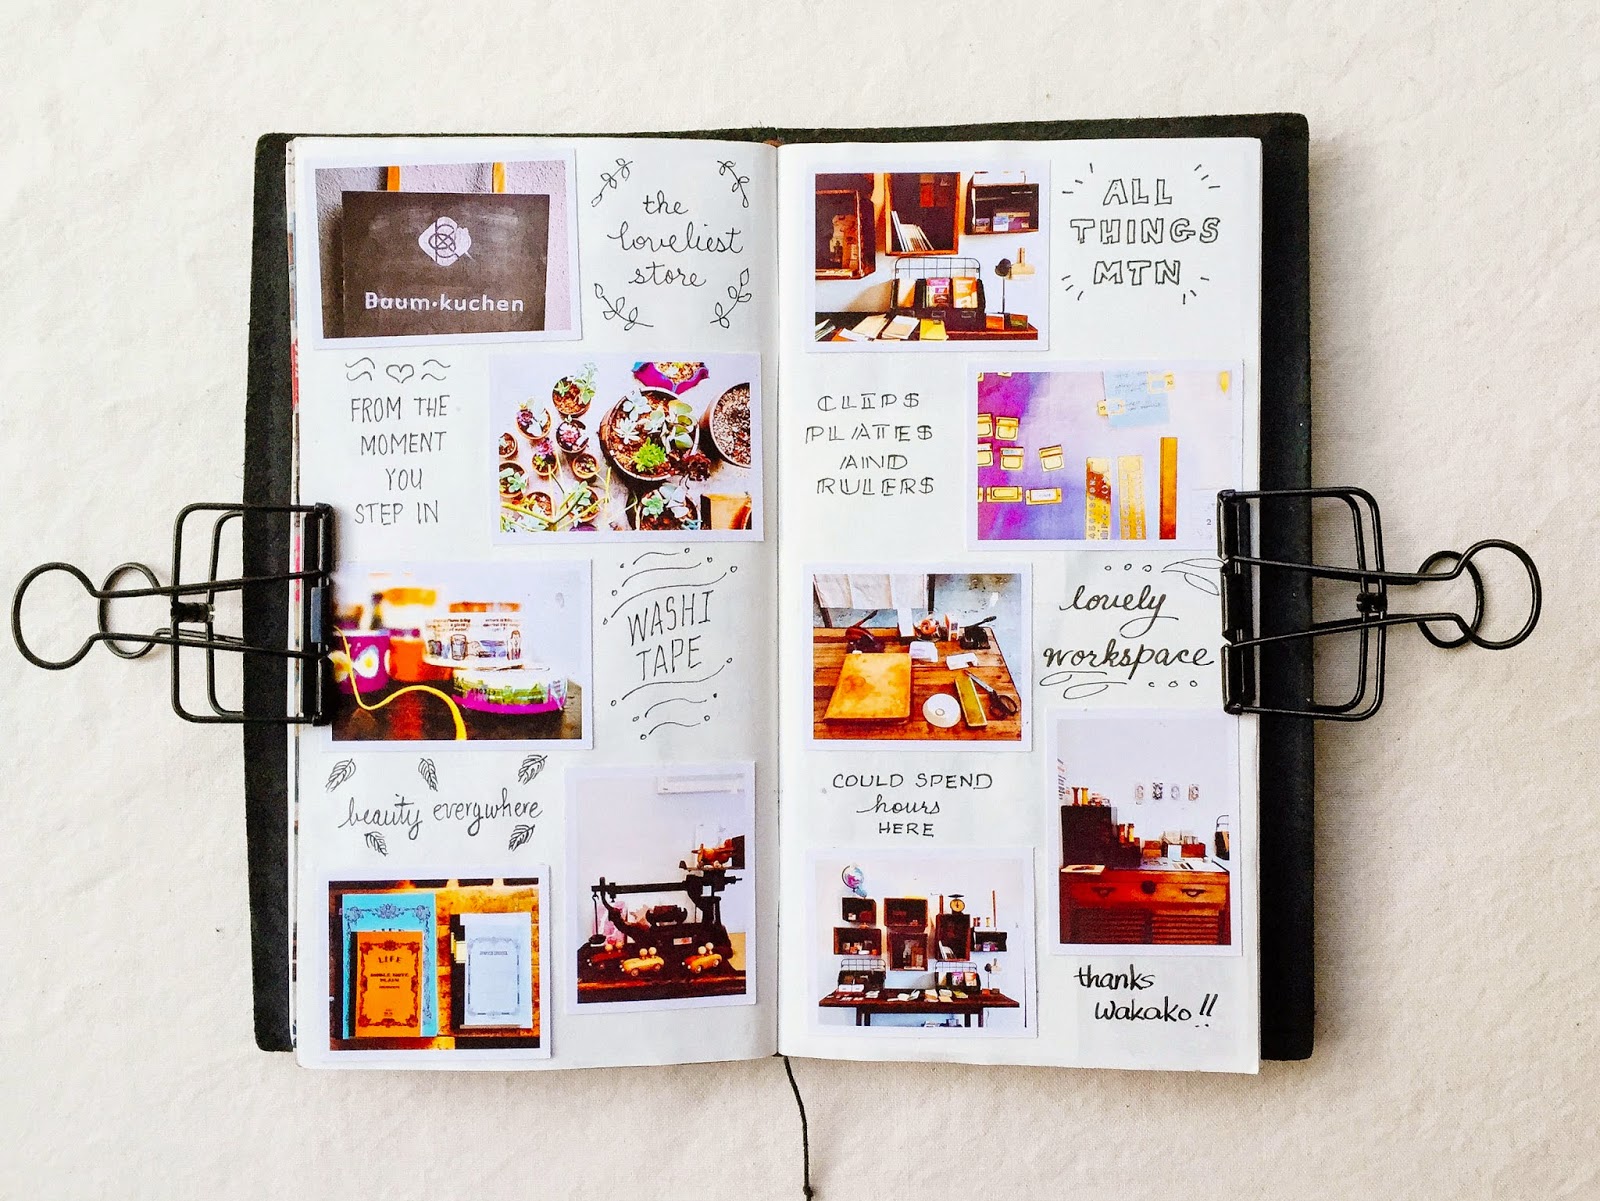 |
| Baum-kuchen, Los Angeles |
At the time, I was also beginning to experiment with hand lettering, so I decided to combine this with my photos. I wanted to keep each layout to two pages but I also wanted to fit in as many pictures as possible, so I resized them to make them much smaller. This also forced me to choose the photos I felt would best tell the story.
Below are the other layouts in my photo journal so far.
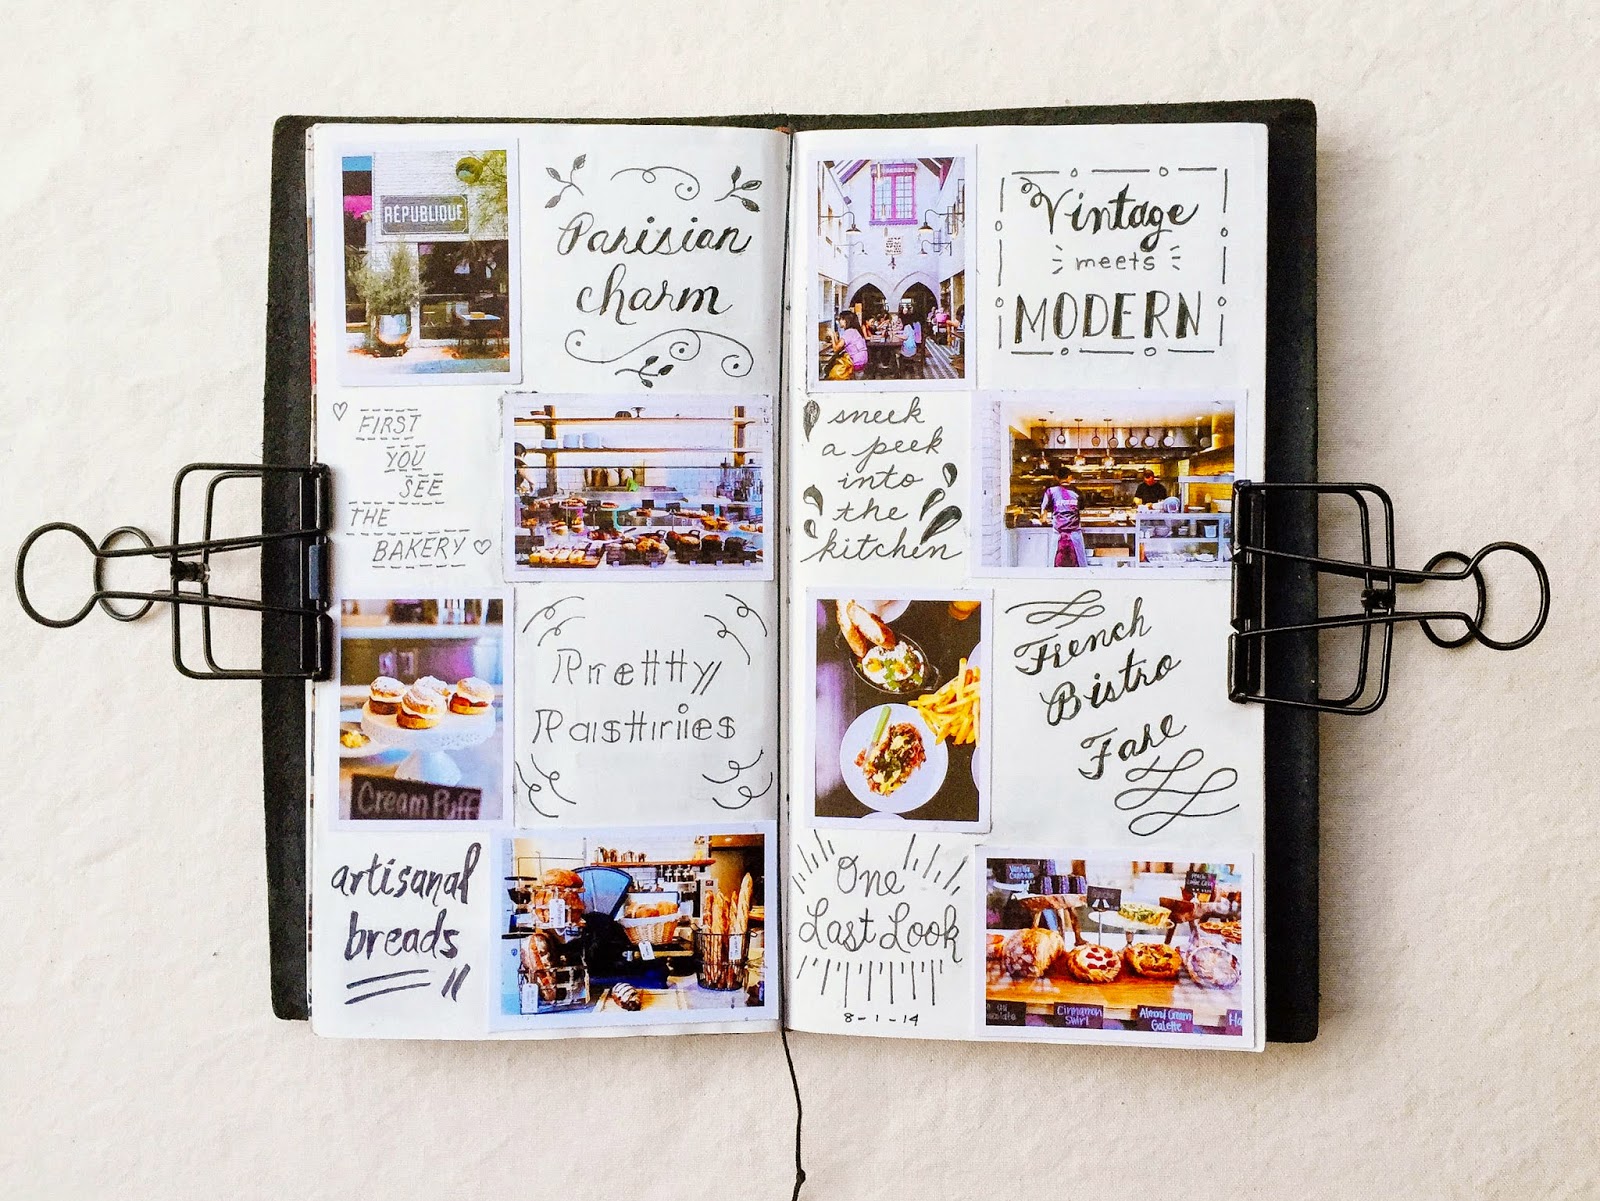 |
| Republique, Los Angeles |
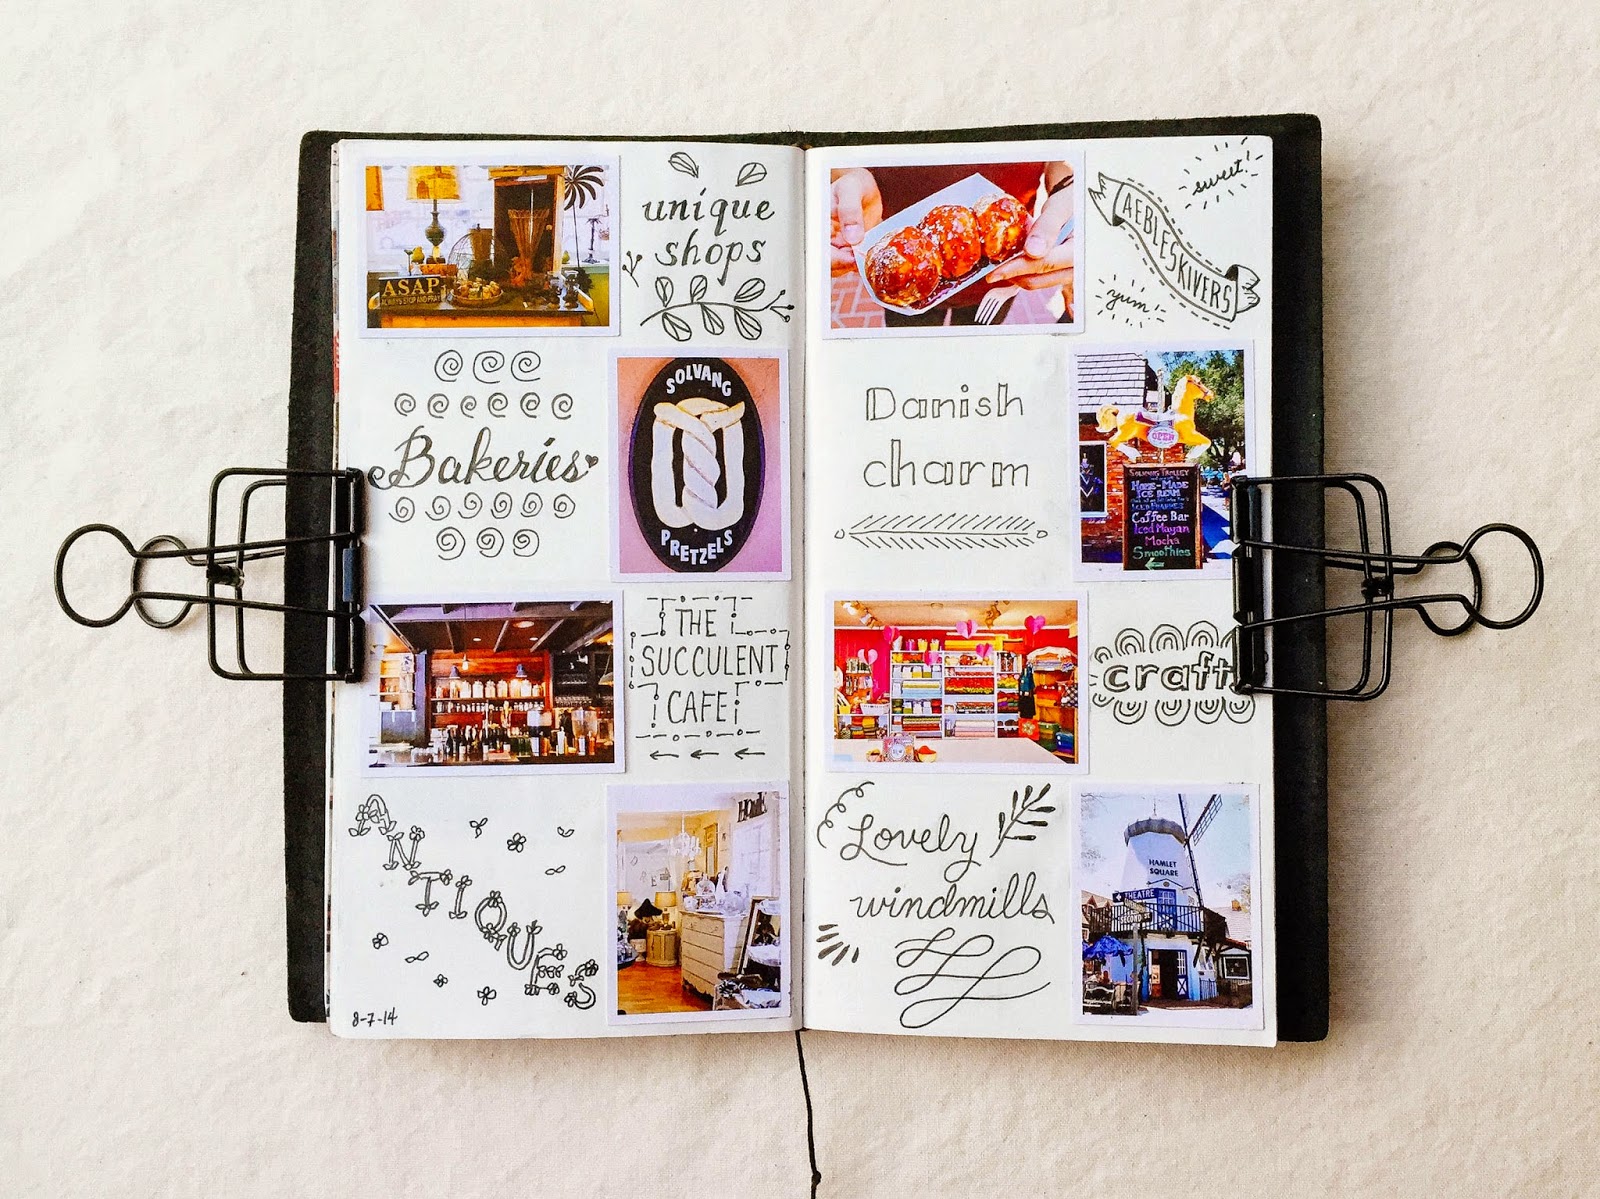 |
| Solvang, CA |
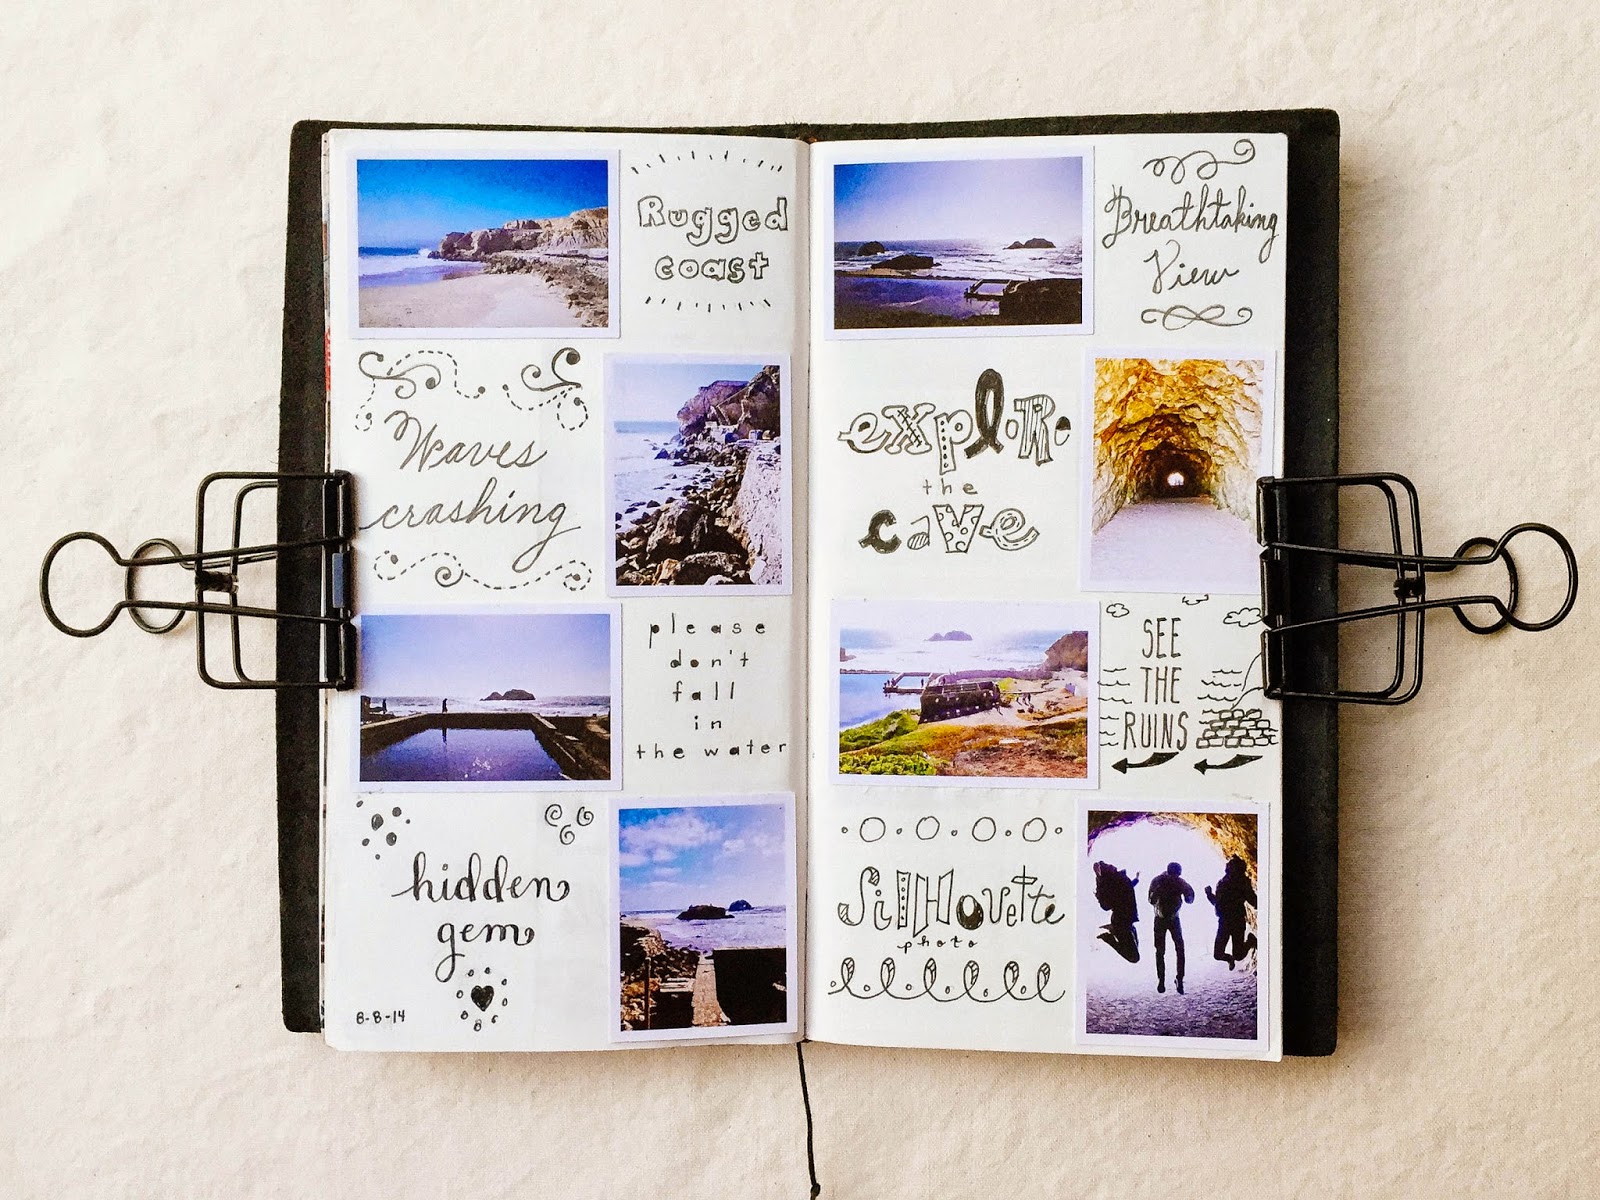 |
| Sutro Baths, CA |
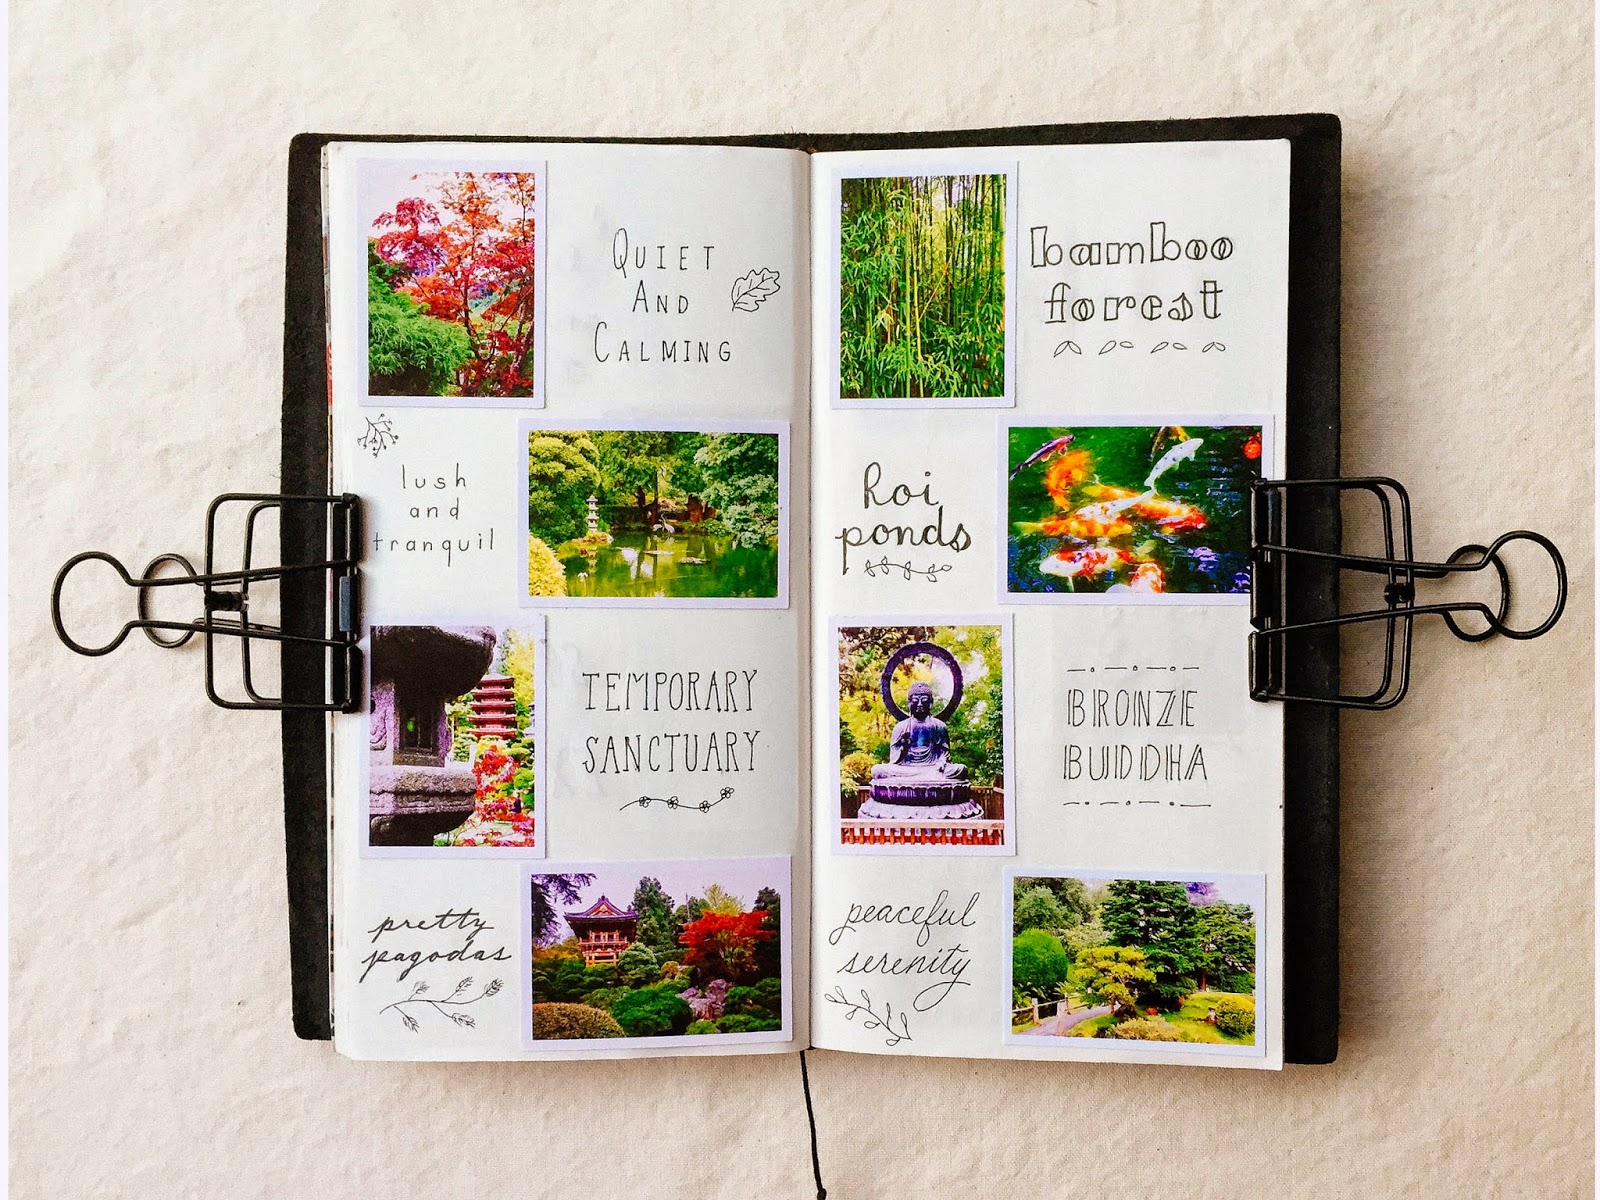 |
| Japanese Tea Garden, SF, CA |
 |
| Point Lobos, CA |
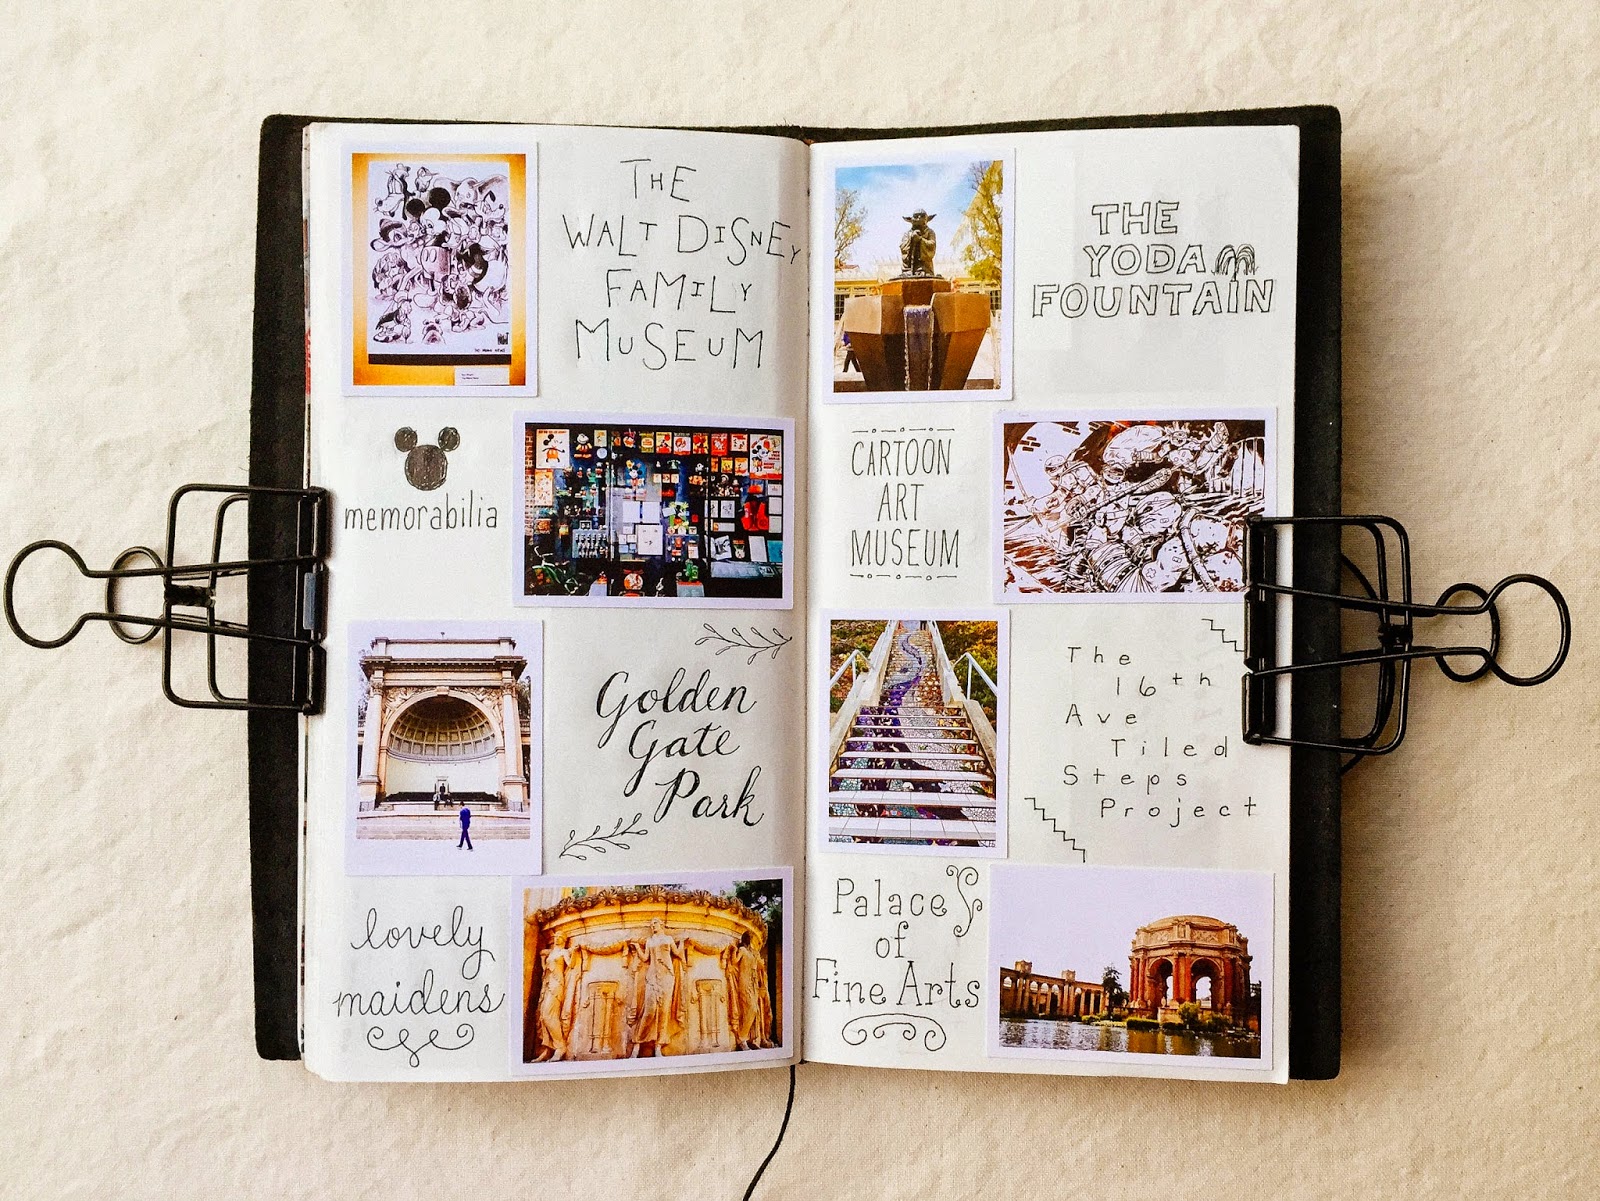 |
| San Francisco, CA |
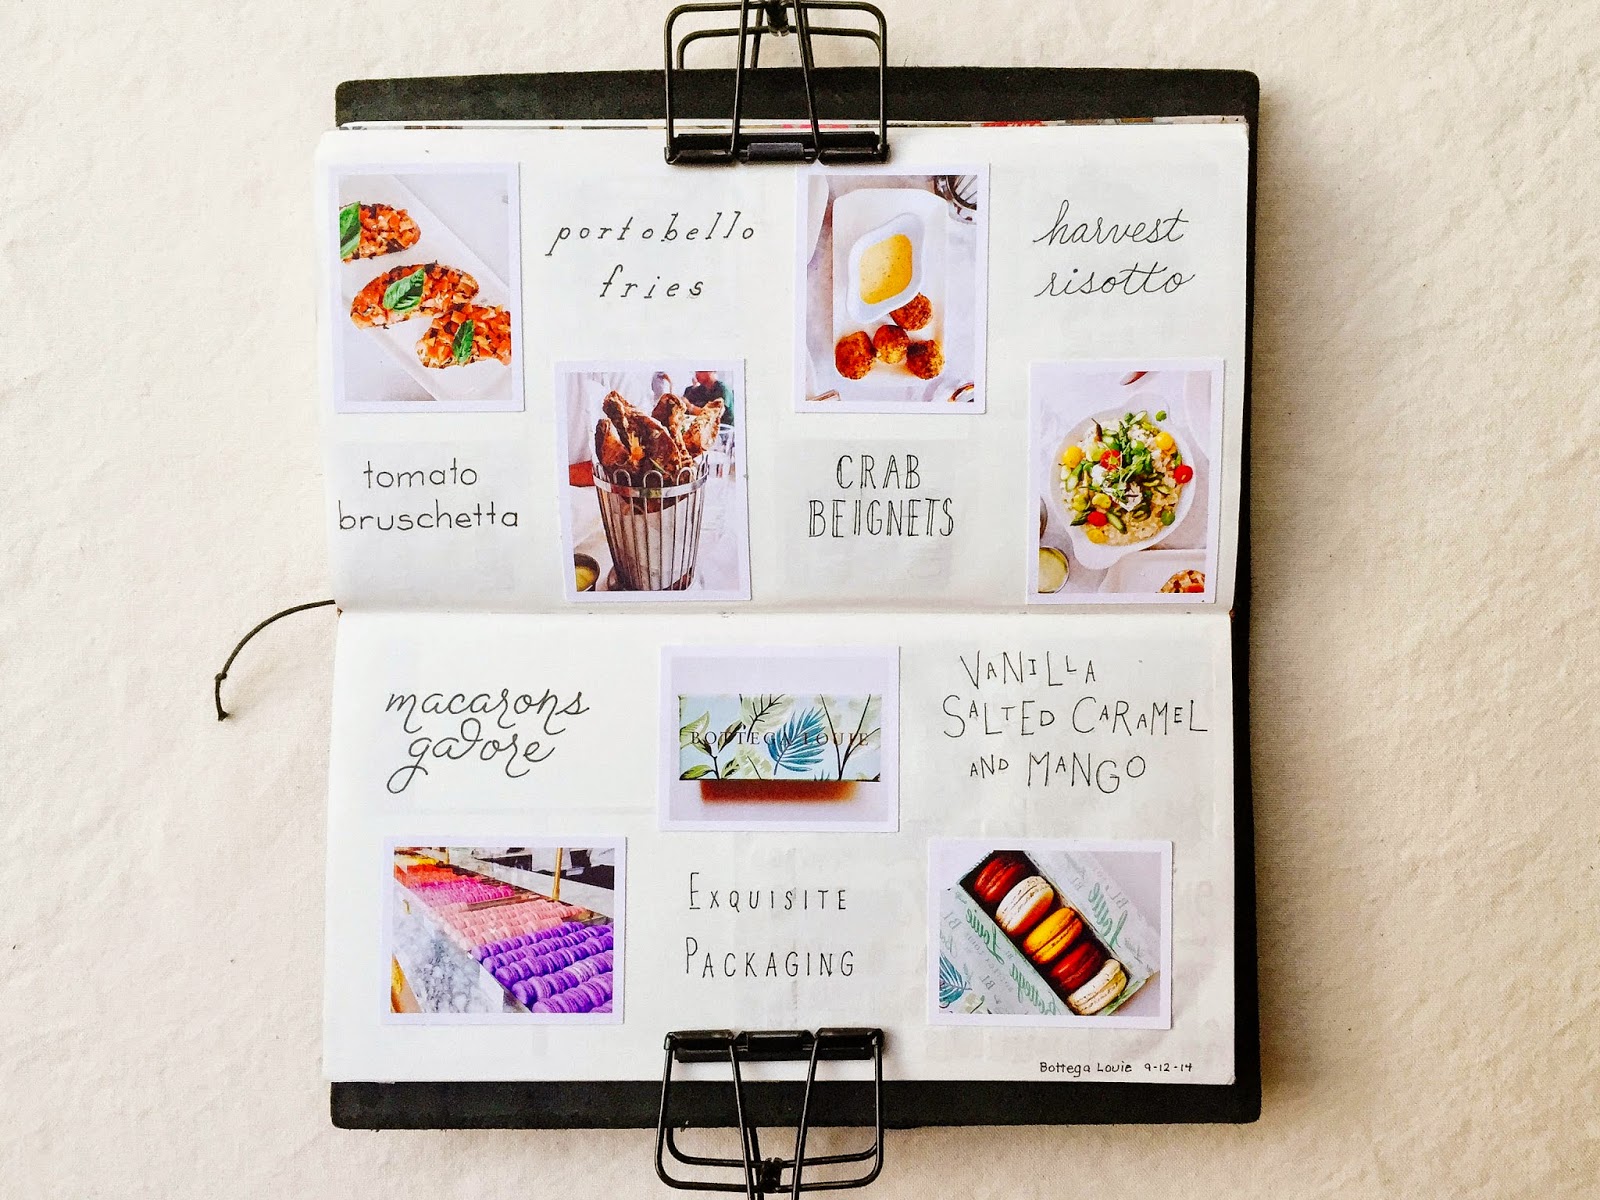 |
| Bottega Louie, Los Angeles |
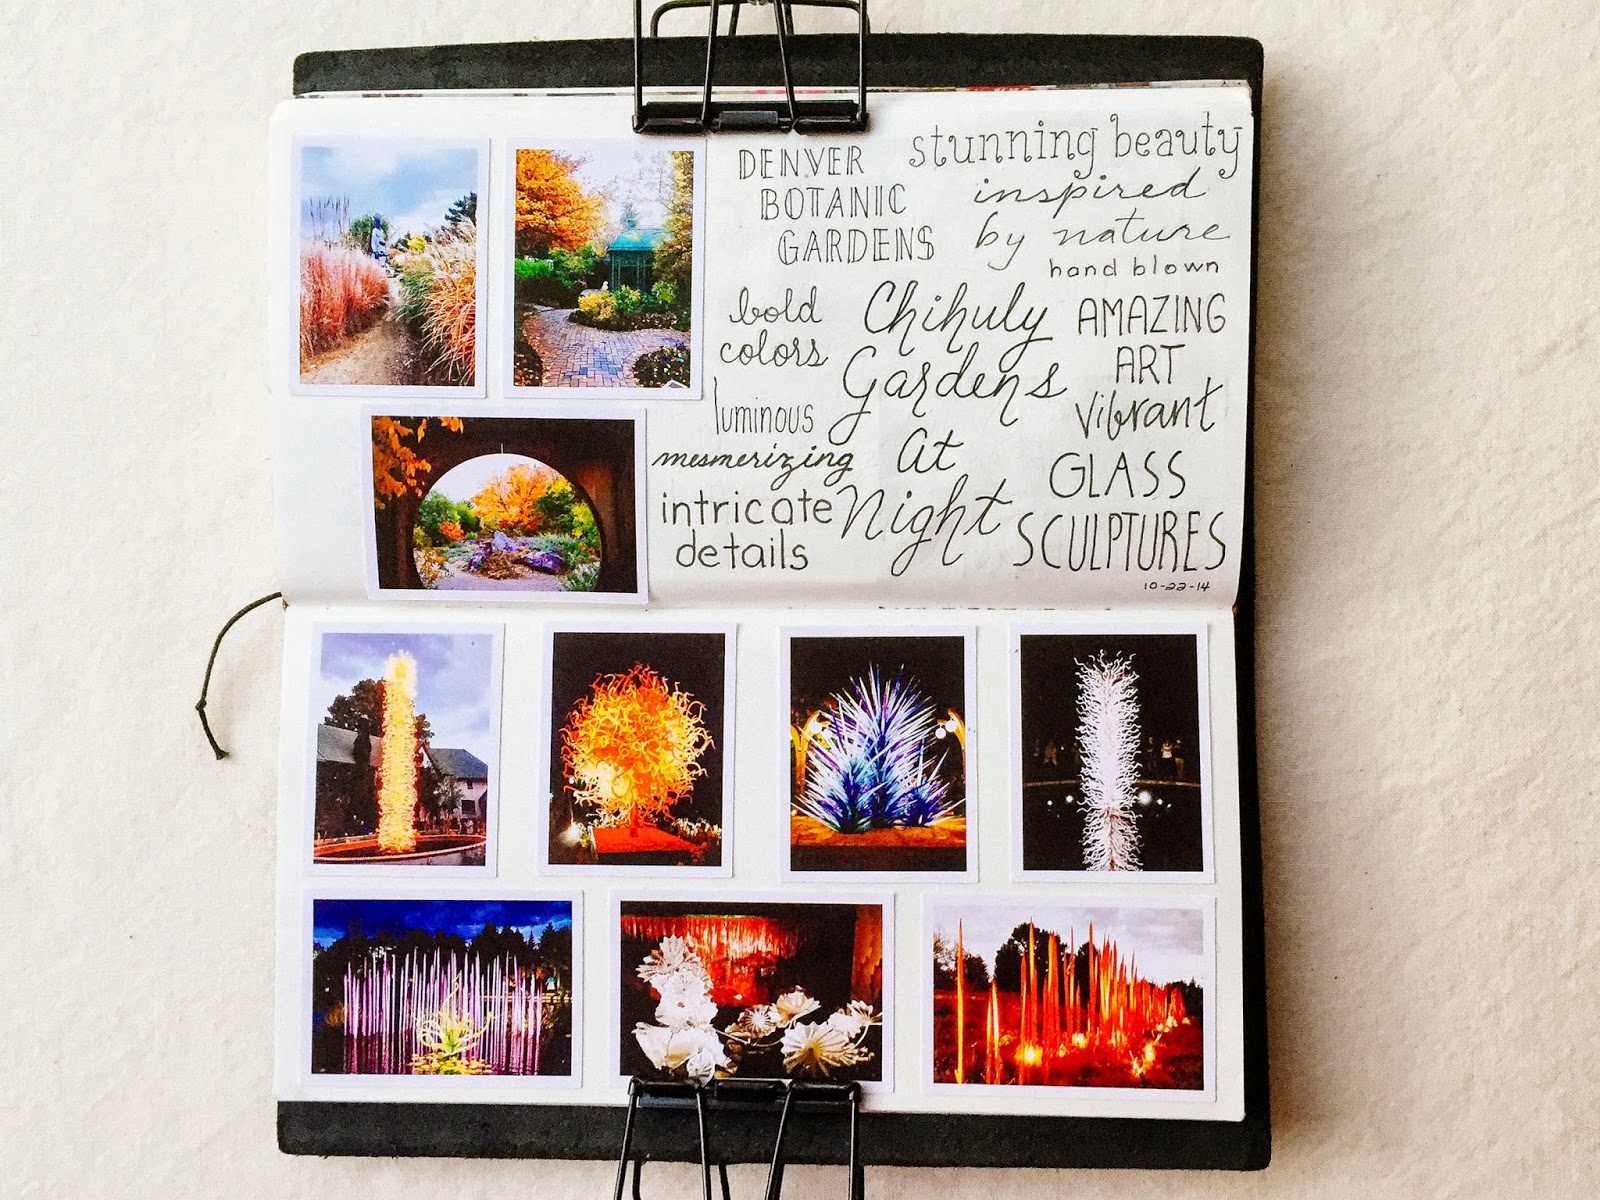 |
| Denver Botanic Gardens, Colorado |
These are my only entries so far. They are a mixture of travel photos and photos of local restaurants in Los Angeles. I have photos piling up that need to go into this journal, but I recently became obsessed with journaling in another Japanese-made wonder, the Hobonichi! More on that in a future post :)
For now, I have decided to continue keeping the majority of my photos in digital albums on Flickr and Shutterfly, while documenting both everyday and special memories in a combination of journals, simple photo albums, and photo books. I hope you've enjoyed this look at my Traveler's Notebook and thank you for stopping by!
For now, I have decided to continue keeping the majority of my photos in digital albums on Flickr and Shutterfly, while documenting both everyday and special memories in a combination of journals, simple photo albums, and photo books. I hope you've enjoyed this look at my Traveler's Notebook and thank you for stopping by!


Wow! What beautiful pages, Gert! All of your photos look nice! Do you print them out of photopaper? The sizing of them are perfect. Also, I'm so happy you started a blog! It's definitely added to the reads list. :) Looking forward to more posts!
ReplyDeleteThank you so much Michelle, your support and encouragement mean a lot! Yes, I used Canon matte photo paper and a Canon PRO-100 printer for the photos :)
DeleteHello! I absolutely adore how you've done this notebook! I'm about to take an extended road trip, and something similar to this style is I think the perfect way to quickly and beautifully capture my travels without a ton of fuss (and thus the potential that the book won't be finished). My question for you is also about the pictures. Because of their size, I thought you'd used a new poloroid camera or portable printer.... But you said you used a full size. May I ask you to explain that further? Did you take, edit, then specially format each picture and print multiple out per page? And also what did you used to stick the pictures without ruining either the page or the photo? I would be so grateful for any explanations you have!!! (I also love this whole blog, btw. Simply beautiful)
ReplyDeleteYour MTN is beautiful! I love your photos; they are the perfect size. Can you share what you did to print them that size?
ReplyDeleteHello :-) I just found your blog through seaweedkisses & I instantly fell in love with your work :-) I want to ask you, how you print your little pictures so perfectly?
ReplyDeleteBest regards,
Alice
Hello :-) I just found your blog through seaweedkisses & I instantly fell in love with your work :-) I want to ask you, how you print your little pictures so perfectly?
ReplyDeleteBest regards,
Alice