Pages

Unravel Your Photos: Lesson Six

Sunday, November 15, 2015


The final lesson of Life:Captured Inc.'s Photo Organization with Lightroom class is where you learn how to reap the benefits of all the time you spent importing, renaming, organizing, keywording and rating your photos. Ronnie shows us how to use Lightroom's Collections panel to instantly create a customized collections of photos from your library.

As I delved deeper into the lesson, the more I realized what a powerful tool Lightroom is. As someone who has thousands upon thousands of digital photos and wants to create keepsakes from those captured memories, I am now more willing and excited than ever to invest the time needed to organize my photos. The payoff will be huge as I will be able to easily create photo books and albums without missing photos I forgot about.

Ronnie shares the steps she uses to create photo collections for her photo books and life albums (her stunning version of Project Life albums). Learning about her workflow was immensely helpful for trying to figure out what my own personal workflow should be. 

The lesson concludes with Ronnie teaching us how to export photo files to their designated folders so that your final images are organized and ready to use for your memory keeping projects.

I'd like to thank Ronnie and Trish for hosting this generous boot camp and for this amazing class. I have learned so much from it! After many unsuccessful attempts to learn more about Lightroom, I am finally equipped to tackle and unravel my photos :) 

Unravel Your Photos: Lesson Five

Sunday, November 1, 2015


Now that Ronnie has taught us how to use Adobe Lightroom to organize our photos, she now teaches us how to apply what we learned in a manageable weekly workflow for importing and organizing current photos. Once this weekly workflow becomes established and routine, we can then begin to work on our backlog of older photos. 

I always thought that trying to organize 15 years worth of digital photos would be way too difficult, so what would be the point of even trying? But now that I have learned how to use the powerful tools available in Lightroom, this monumental job actually seems doable. I tend to tackle projects like this by working like mad nonstop, but the enormity of this task will force me to divide it into manageable projects. Ronnie assures us that it's perfectly OK if we don't have time to work on our backlog every month, as long as we continue to work on it at our own pace and above all, be patient with our progress (this I constantly need to be reminded of).

Ronnie also teaches us how to archive older photos when our computer runs out of space, how to manage our existing Lightroom catalog, and how to create a new Lightroom catalog. Lastly, she talks about the importance of backing up our photos. Now, backing up my photos is one thing that I have always been religiously good about doing, since losing my photos has always been one of my worst nightmares. I currently back up my photos to an external hard drive and two online photo storage sites. I used to also back them up to two sets of DVD's, but I stopped doing this a couple of years ago.

I'm a little sad that the boot camp is almost over, but I am very happy with what I have learned from this class. Prior to these lessons, I thought learning Lightroom would be too daunting and difficult, but I was pleasantly surprised to learn that it is actually easy. The keys were having the right teacher and having the material presented in a user-friendly format. Just one more lesson to go... 

Unravel Your Photos: Lesson Four

Saturday, October 17, 2015


Lesson Four of Life:Captured Inc.'s Photo Organization with Lightroom class is all about keywording. I’ve been looking forward to this lesson since the beginning of the boot camp because for me, this is the fun part of the whole process. In addition, applying keywords to your library opens the door to doing exciting things with your photos.

Ronnie shares her keyword list and provides advice on how to create your own list of useful keywords. Beyond keywording based on people, places, and events, I loved the idea of keywording based on unique features of the photos (like the predominant color) or items in the photos. I learned about keyword sets and saw how utilizing them can dramatically cut down on the amount of time needed to keyword photos. 

Before using Lightroom, I used iPhoto to organize my photos. Beyond organizing my photos into "Events" and playing with the "Faces" and "Places" features, there wasn't much else I could use to search for specific photos.

In addition to key wording, Ronnie also discusses rating your photos and offers a simple way to flag your highest quality photos (photos to be used for keepsakes, photo books, etc.) and your favorite photos, which may not necessarily be the best quality captures but for one reason or another, are special or meaningful to you.

Keywording my entire photo library is a huge undertaking, but Ronnie’s tips and tricks will definitely make the process easier and quicker. This lesson comes at the perfect time as I import, sort through, and apply keywords to my photos from my business trip to Savannah.

Unravel Your Photos: Lesson Three

Thursday, September 24, 2015


In Lesson Two, we learned how to import and organize photos in Lightroom. It makes perfect sense that Lesson Three showed us how to search for and view photos in Lightroom.

Ronnie goes over the different ways to view images in Lightroom, helpful keyboard shortcuts, and explains the functions of the Catalog and Folders Panels. She also goes over the all of the different ways you can search for photos using the filter bars.

I never knew that there were so many ways to search for photos in Lightroom. Combining the different filters (text, attributes, and metadata) along with the folder structure created when photos are imported results in a myriad of search options to choose from. This is extremely helpful, especially when dealing with a massive photo library with tens of thousands of photos.

Next, we learned how to pick and reject files in Lightroom. I suspected that this, for me, will be the hardest part of the photo organization process, as I have always found it difficult to weed out less than stellar photos. Ronnie anticipates that some of her students will have difficulty with this step and offers an alternate workflow to allay those fears about deleting those photos right away. 

Ronnie also taught is how to edit file data, such as the filename or capture time, after files are already imported, in case those were incorrect at the time of import. She also goes over how she handles video files in a similar manner to the way she organizes photos, just somewhat simpler. After all, most of us have far less videos than photos, so a simpler workflow is appropriate.

Lastly, Ronnie went over virtual copies and RAW files. Virtual Copies are useful when you want to try editing your photos in different ways to see which is best for your project.


With each lesson, I am becoming more comfortable and confident using Lightroom. I recently read Marie Kondo’s The Life-Changing Magic of Tidying Up and was finally able to let go of a lot of possessions that I have been reluctant to get rid off. After this lesson, I am  excited about applying the same principles to my photo library, organizing and culling my pictures instead of keeping all of the ones I ever took. 

Unravel Your Photos: Lesson Two

Saturday, September 19, 2015


I've just completed Lesson Two of Life:Captured Inc's Unravel Your Photos photo organization class and learned quite a bit! 

First, I learned about Lightroom catalogs. What they are, and how many I should make for my photo library. I learned exactly what Lightroom does when it edits photos and where it stores all of that information. I also learned about the various type of preview files Lightroom can create when it imports your photos.

My favorite part of Lesson Two was learning how to import photos directly from my cameras and phone and how to create a custom file naming preset which automatically renames my photo files as they are imported. I had never imported my photos directly into Lightroom from my camera before, so watching Lightroom automatically rename and organize my photos was quite an eye-opener. I was very excited to learn this and wish I had learned how to do it sooner. But that’s ok, better late than never, right?

Ronnie explained what the end goal of this 12 week photo organization boot camp is, which is to build a single all-inclusive system for all of our photos. A system for both the photos we have already taken and the ones we will take going forward. I’m excited about using Lightroom to organize future photos, but just thinking about the backlog of photos I have to organize seems daunting. Lucky for us, Ronnie already anticipates that we will feel that way and offers a manageable strategy for working on your backlog.


This lesson’s assignment was to import all of the photos on all of my cameras into Lightroom. With Ronnie’s clear and concise instructions, this was a breeze and helped instill in me the confidence that I will really be able to use Lightroom like I never had before. Can’t wait for Lesson Three... 

Unravel Your Photos: Lesson One

Wednesday, September 2, 2015


Photos. If you're like me, you love to take pictures and as a result, have thousands of them sitting on your phone, camera, SD cards, computer, and hard drive. 

What have I done with my photos? I love looking at them and reliving the memories they capture, but I haven't done much else recently. I've printed some for friends, family, and our home's gallery wall, plus made a few albums and photo books, but I always yearned to do more with my photos. My newfound love of journaling and keeping a daily diary has only increased my desire to document my family's life in words AND pictures.

Enter the #unravelyourphotos movement by Life Captured and Artifact Uprising. A chance to join other Instagrammers and bloggers in learning how to organize and bring order to our ever growing photo archives. I applied for the 12 week photo organization boot camp, crossed my fingers, and was very fortunate to have been chosen as one of the participants. The class went live on Monday, August 24 and I eagerly dove into Lesson One.

Lesson One goes over the benefits and principles of photo organization, and introduces you to Adobe Lightroom. I've had Lightroom for a few years and used it to edit photos, all the while not realizing that the program could also be used to organize my photos. Reading through the first lesson, I found Ronnie's writing style engaging and  encouraging. She obviously knows her stuff, and the material is detailed without being intimidating. I've found that books on Lightroom and Photoshop often seemed to be geared towards professional photographers, and as a result I would get lost and discouraged by all of the unfamiliar terminology. 

Ronnie also shares the secret to tackling the monumental task of organizing your photos. That key principle is a simple one, but it got me excited about starting the whole process.

The lesson ends with a recap and review to help make sure that you have absorbed the most important points of the lesson. And finally, you are given assignments. The lesson's assignments are easy, practical and help you prepare for the first step of the organization process, which is importing your photos into Lightroom. 


After completing Lesson One, I am happy to say that I am confident that the next twelve weeks of my life that I am about to invest in this boot camp will be well worth it. Are you interested in learning more? Then check out the Unravel Your Photos home page.

Inspiration Lab at Baum Kuchen Studio

Sunday, April 12, 2015

Last Sunday, I spent my afternoon at the delightful headquarters of Baum-Kuchen, a beautiful studio/shop located in Los Angeles, CA. I was there to attend an Inspiration Lab workshop taught by Eunice Roe, the talent behind the amazing Instagram account @thedailyroe.

I left home very early, just in case the horrible L.A. traffic decided to rear its ugly head. So I got to Baum-Kuchen in plenty of time to snap a few photos before the workshop began.

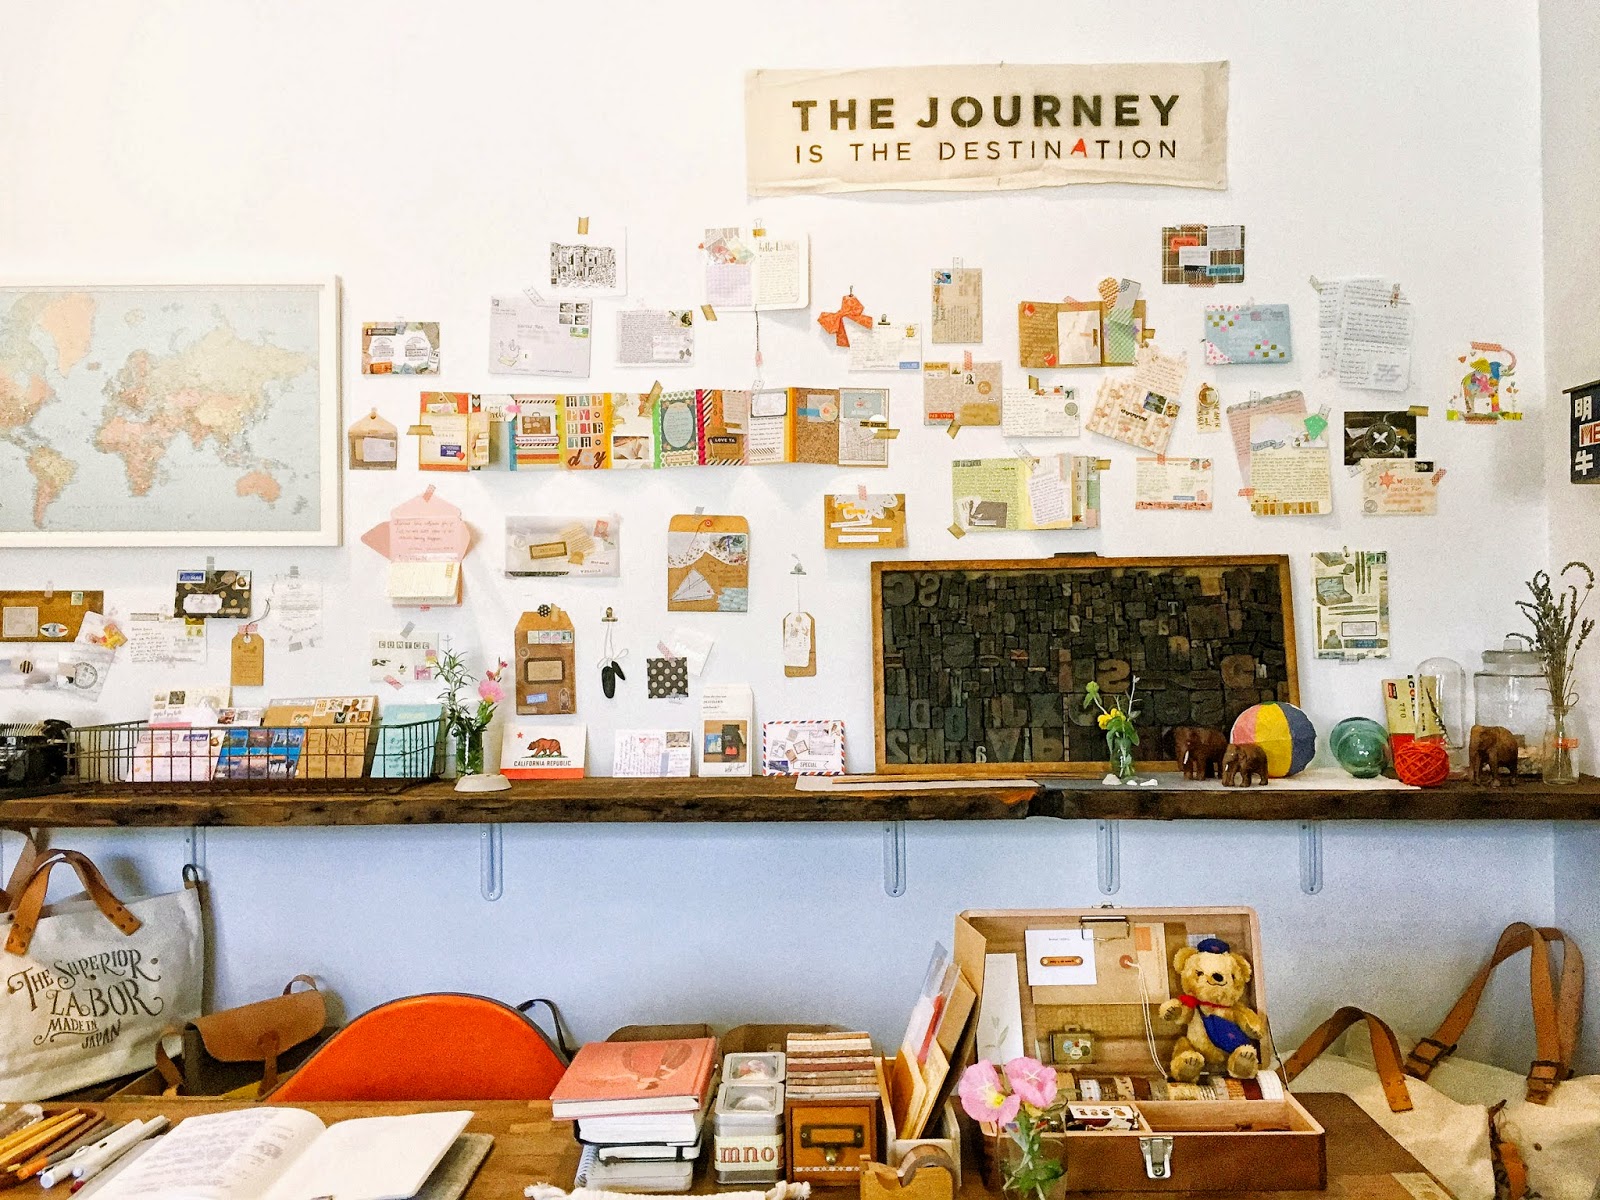
Eunice's collection of letters graced the walls

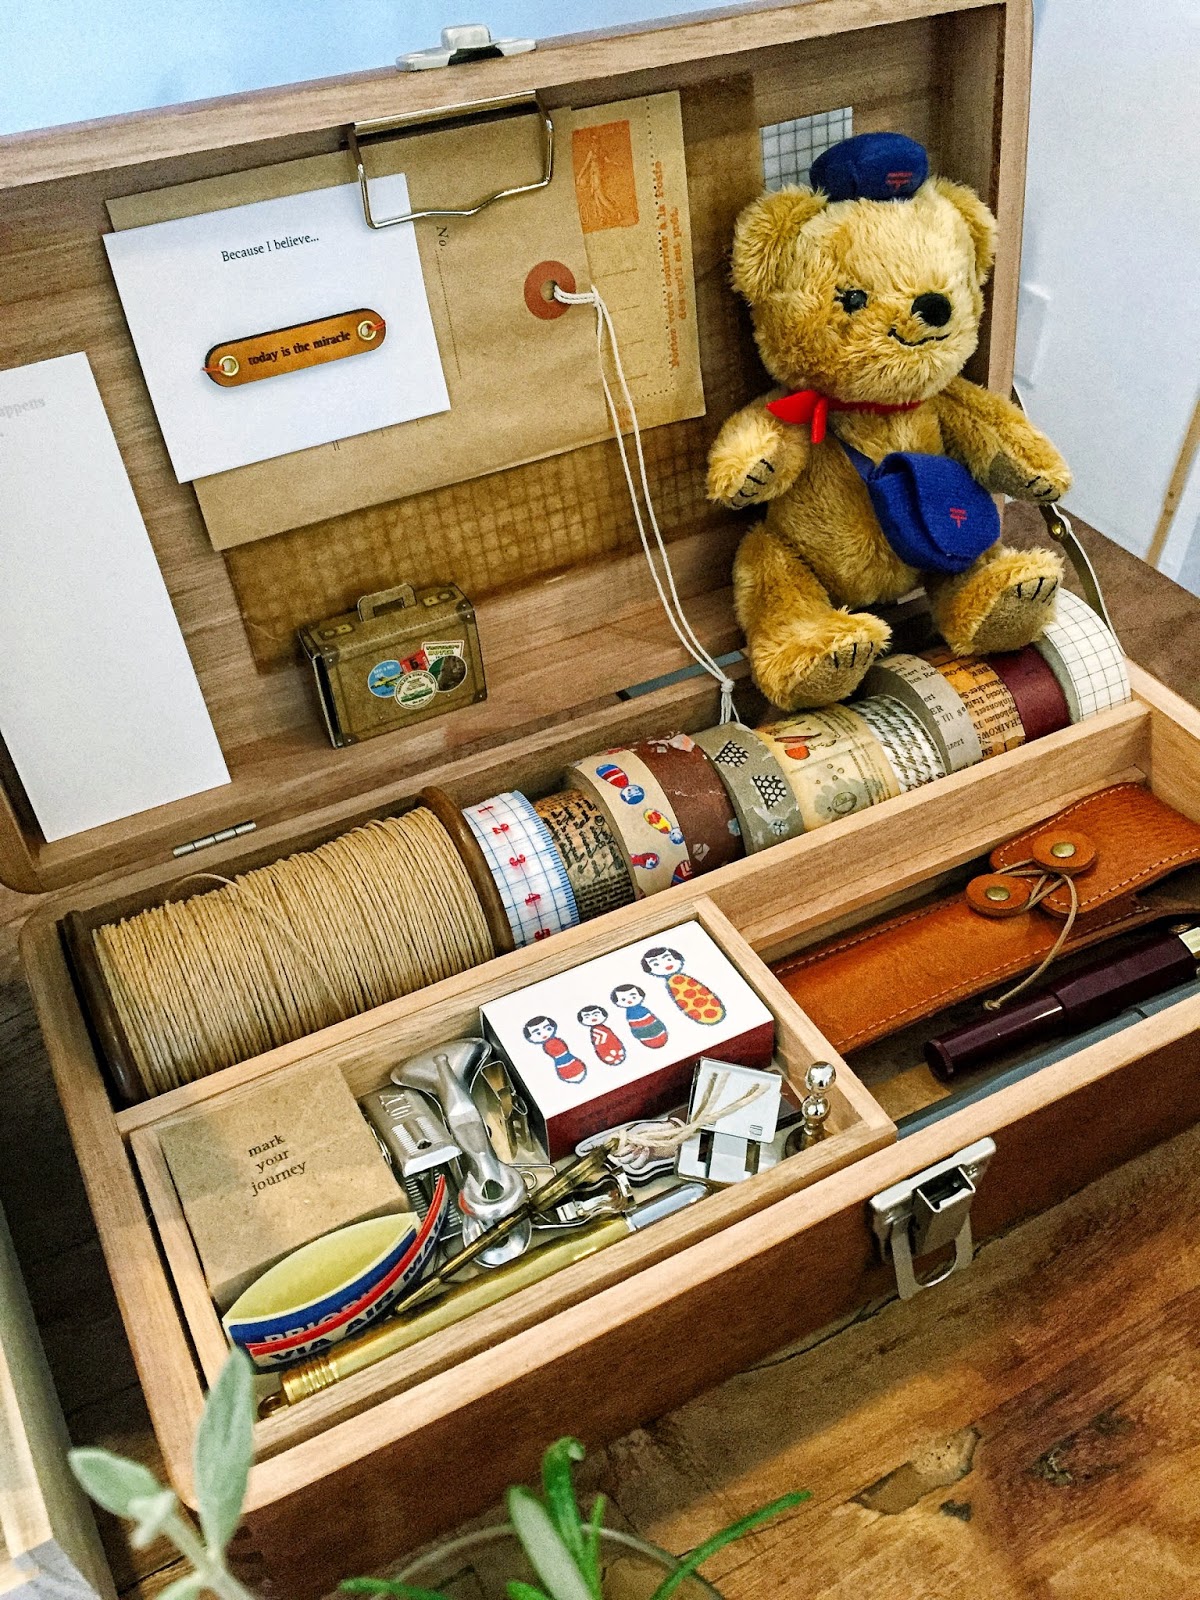
a wooden toolbox housed washi tape and other goodies from Eunice's personal collection

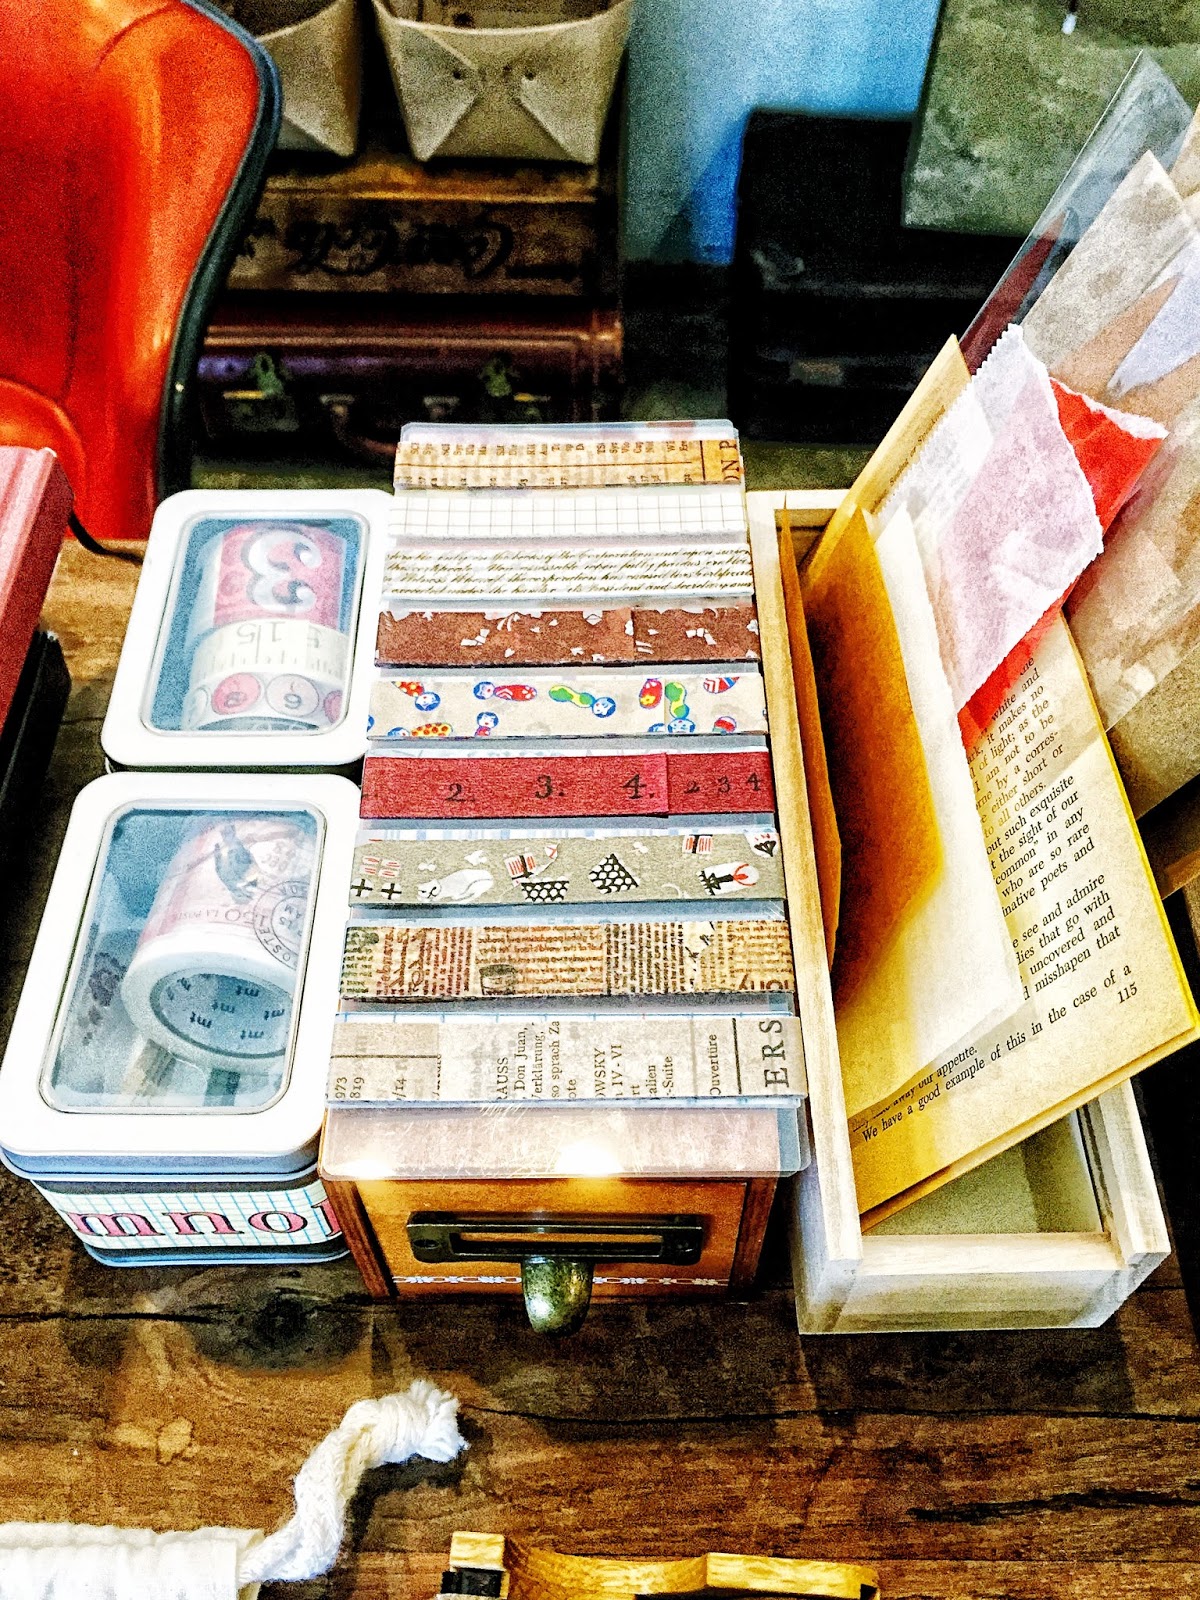
more of Eunice's personal collection

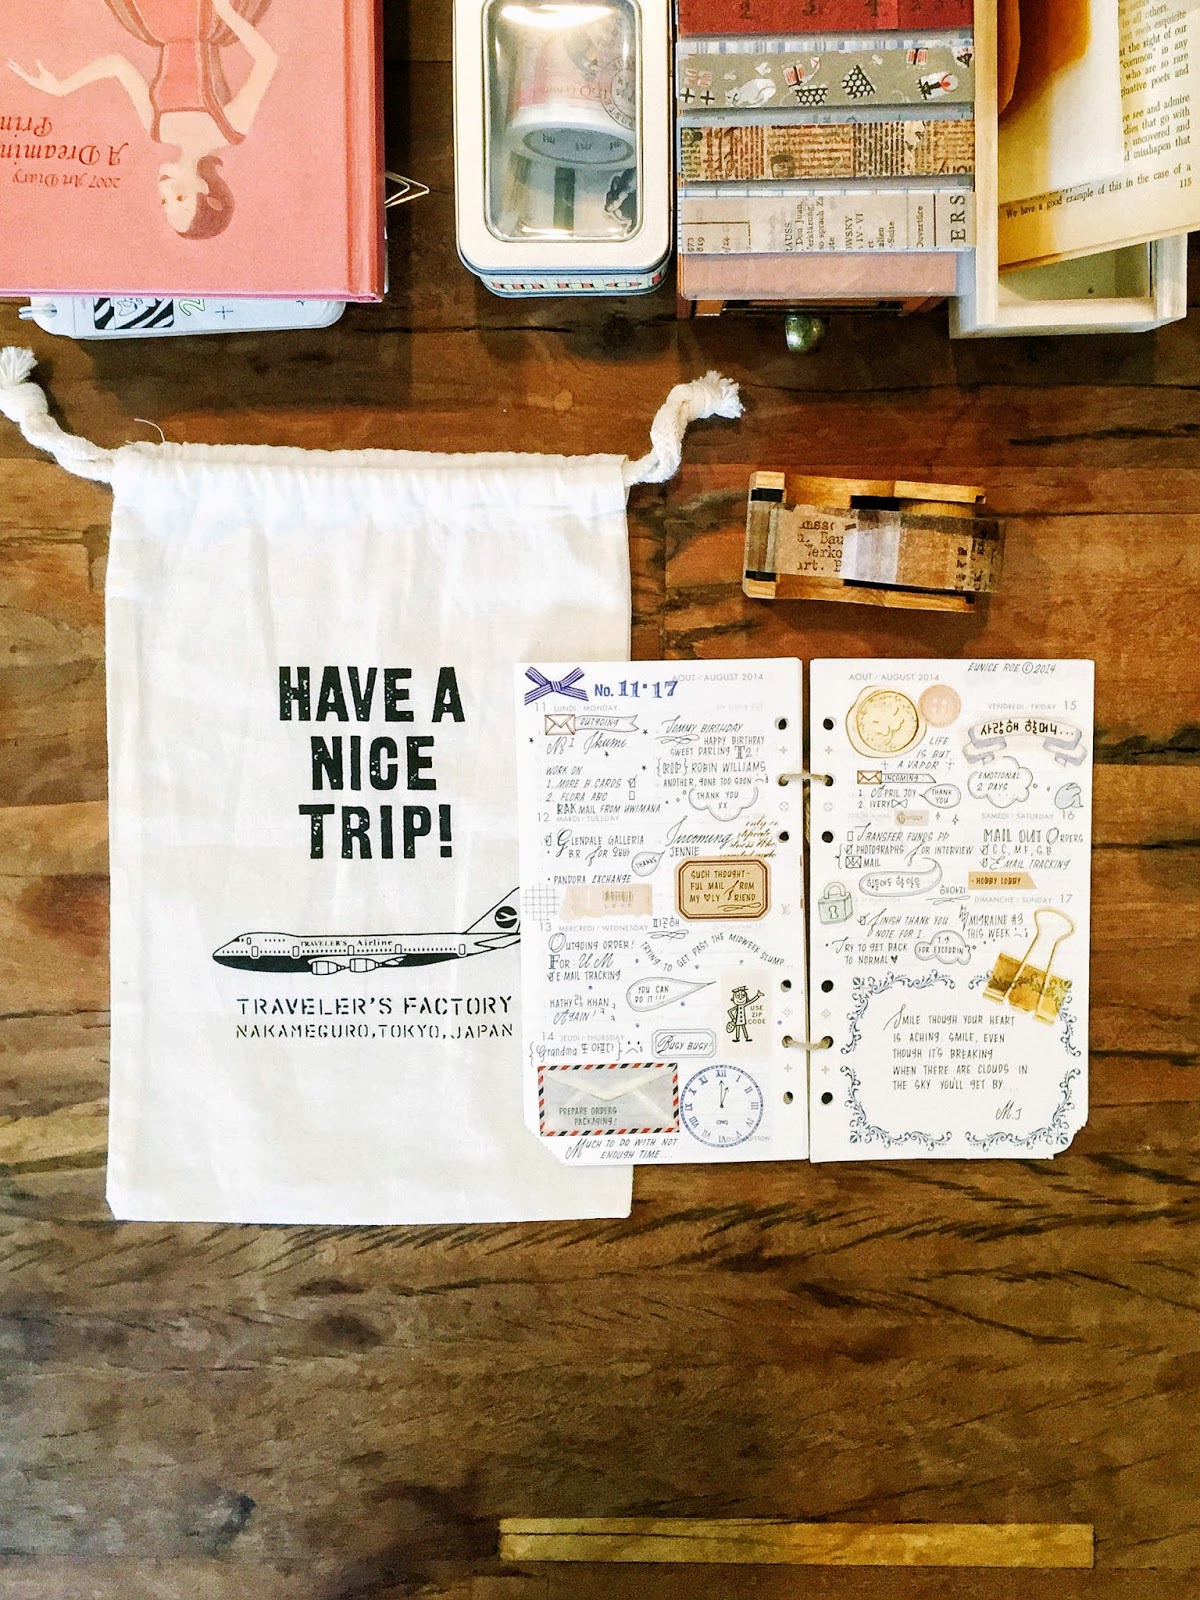
Eunice's journal pages, breathtaking to see and touch in person

specially curated treasure boxes for the workshop attendees

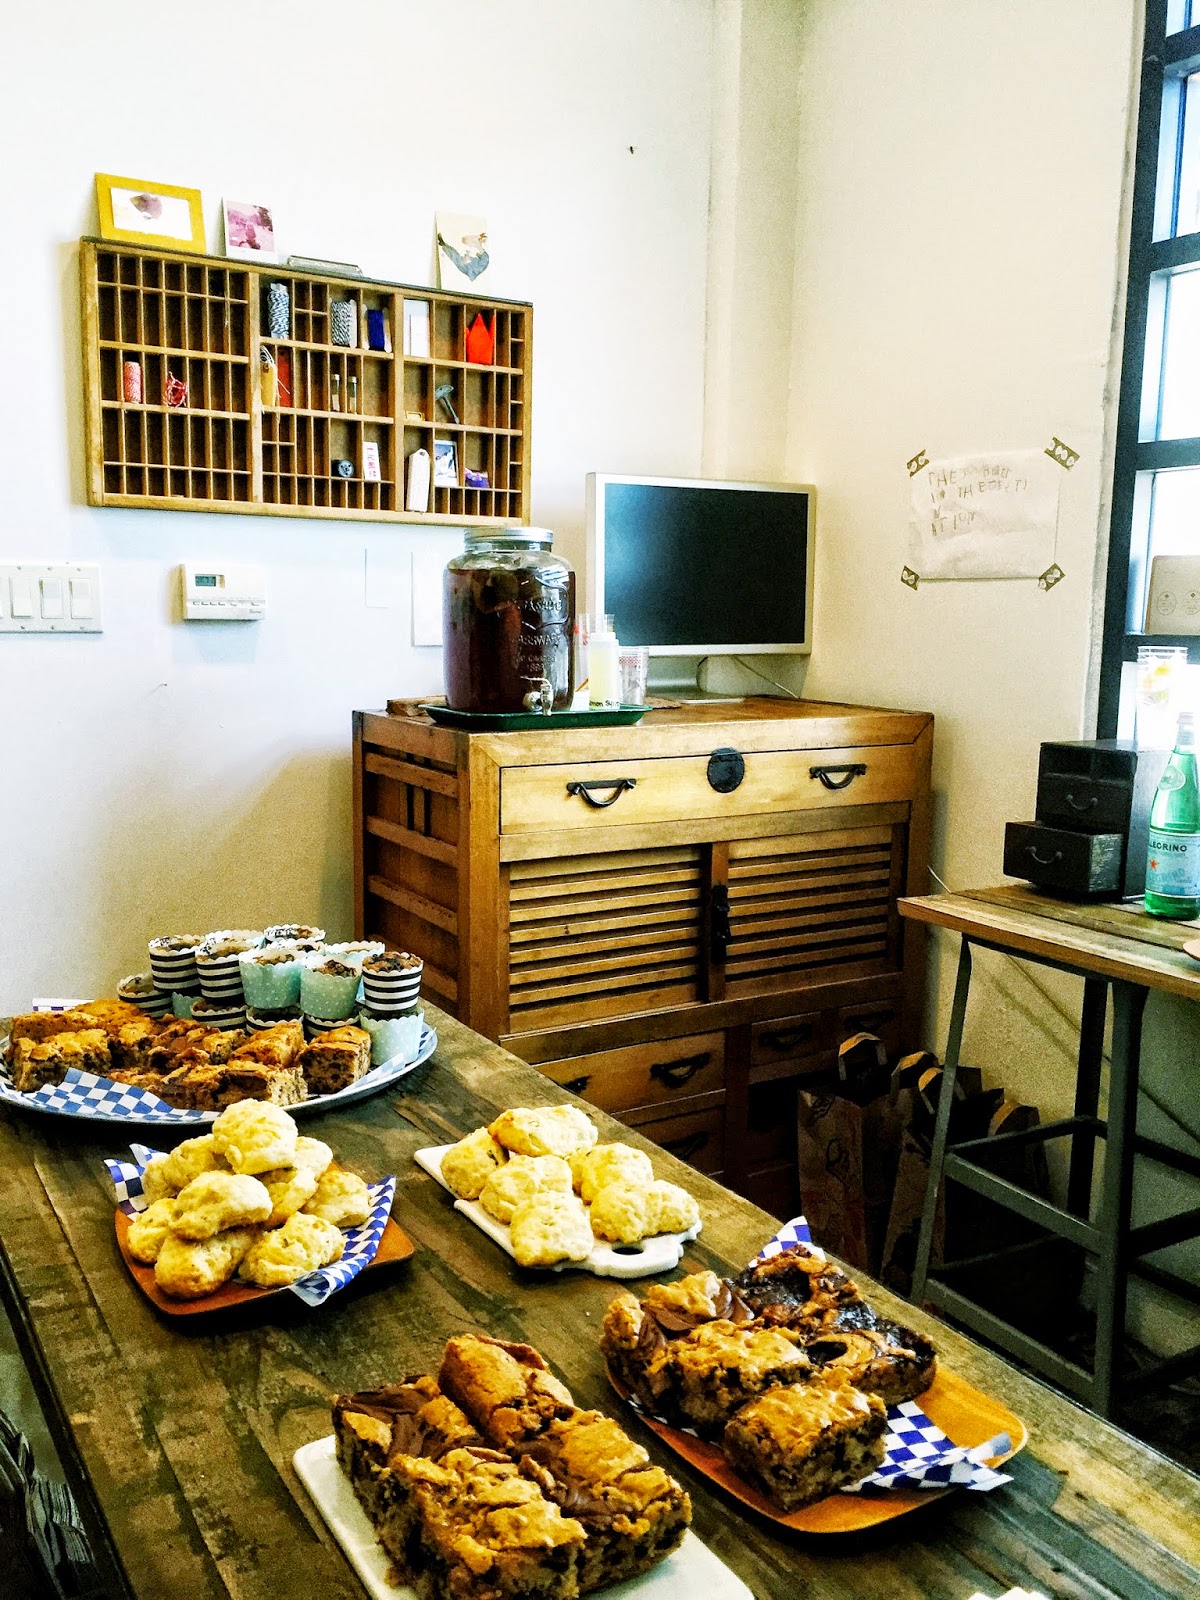
freshly baked goodness from Lemon Poppy Kitchen

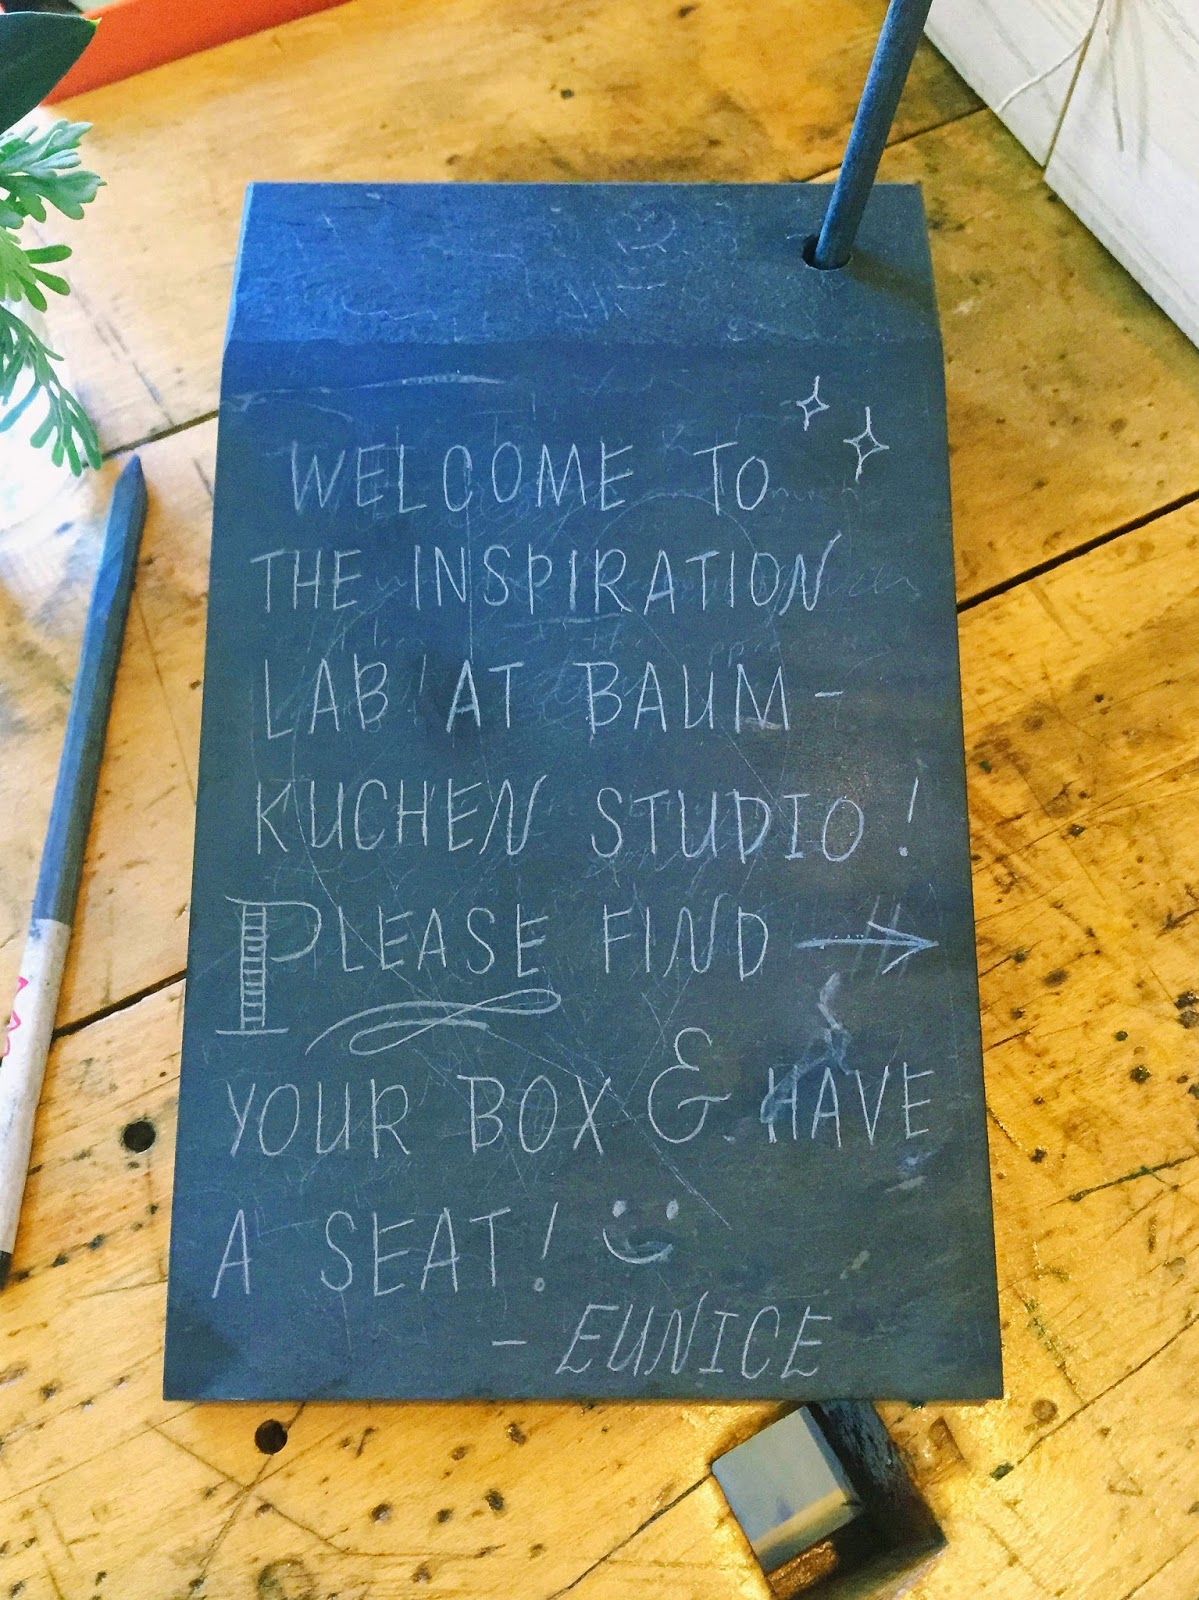
a welcome sign hand lettered by Eunice

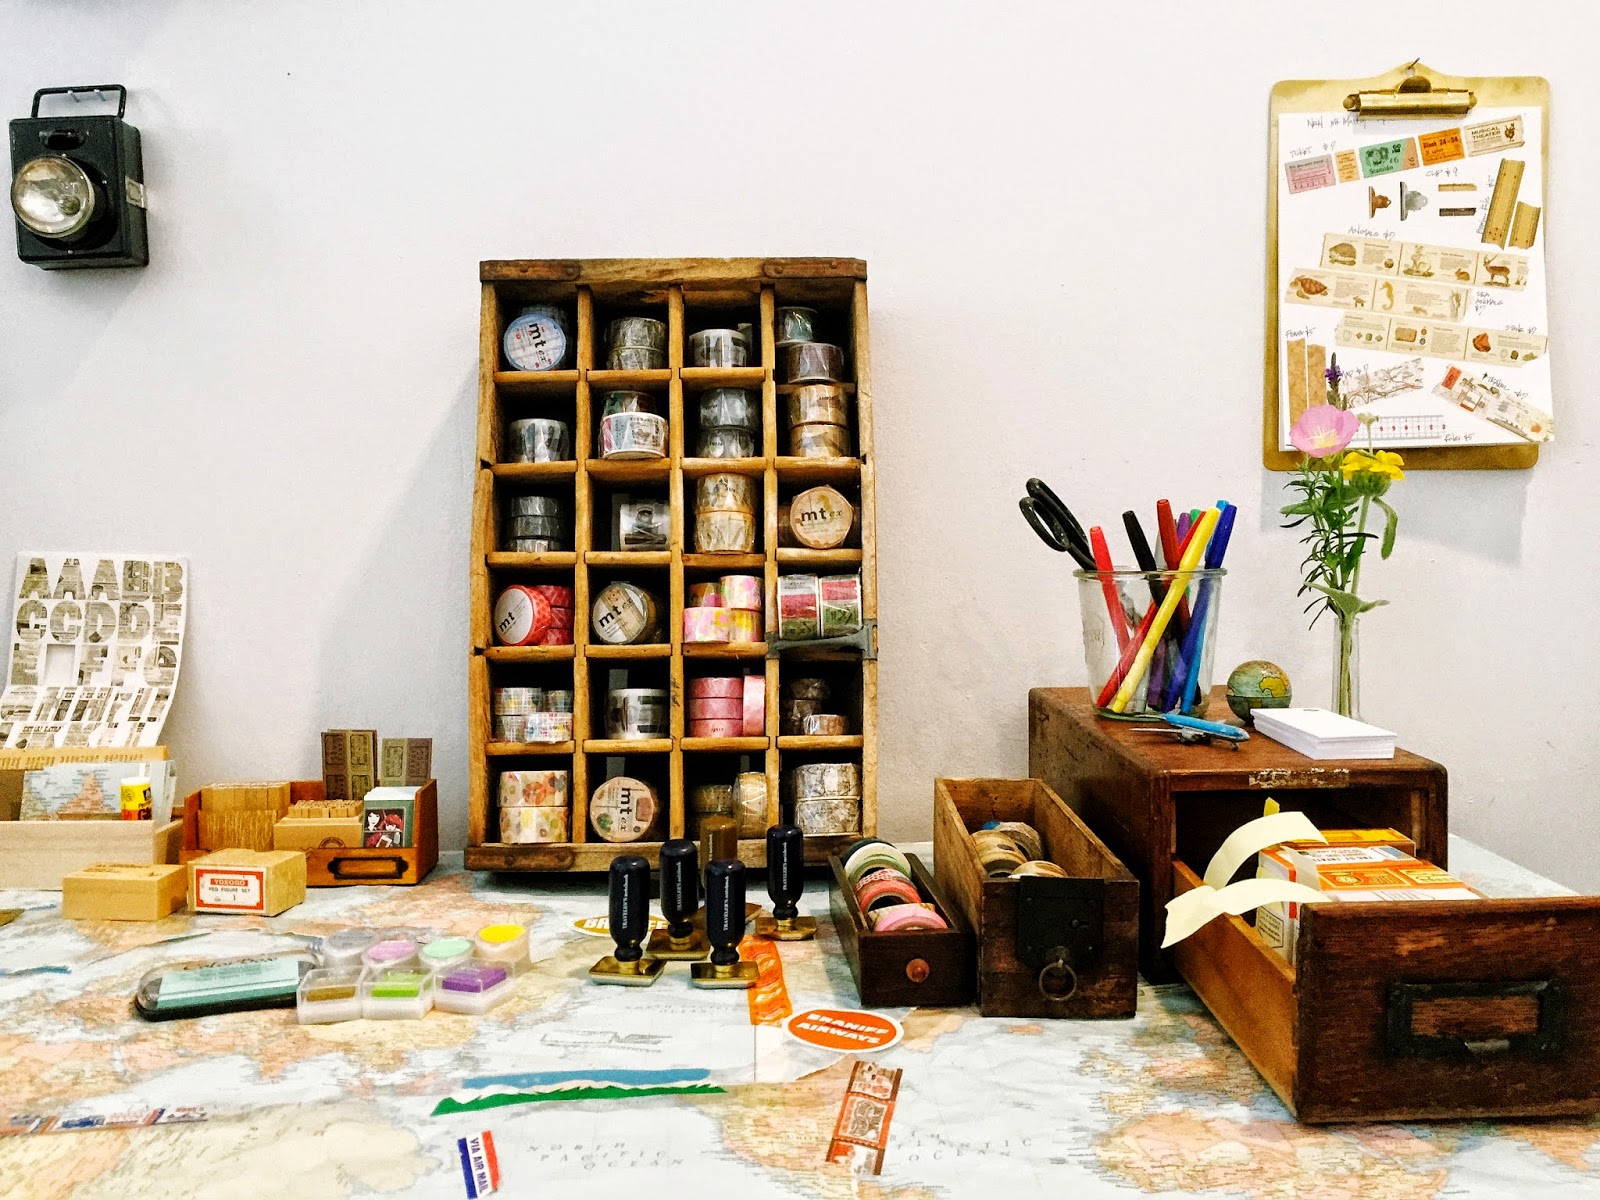
another peek at one of the analogue play tables

rubber stamps galore for workshop participants to play with

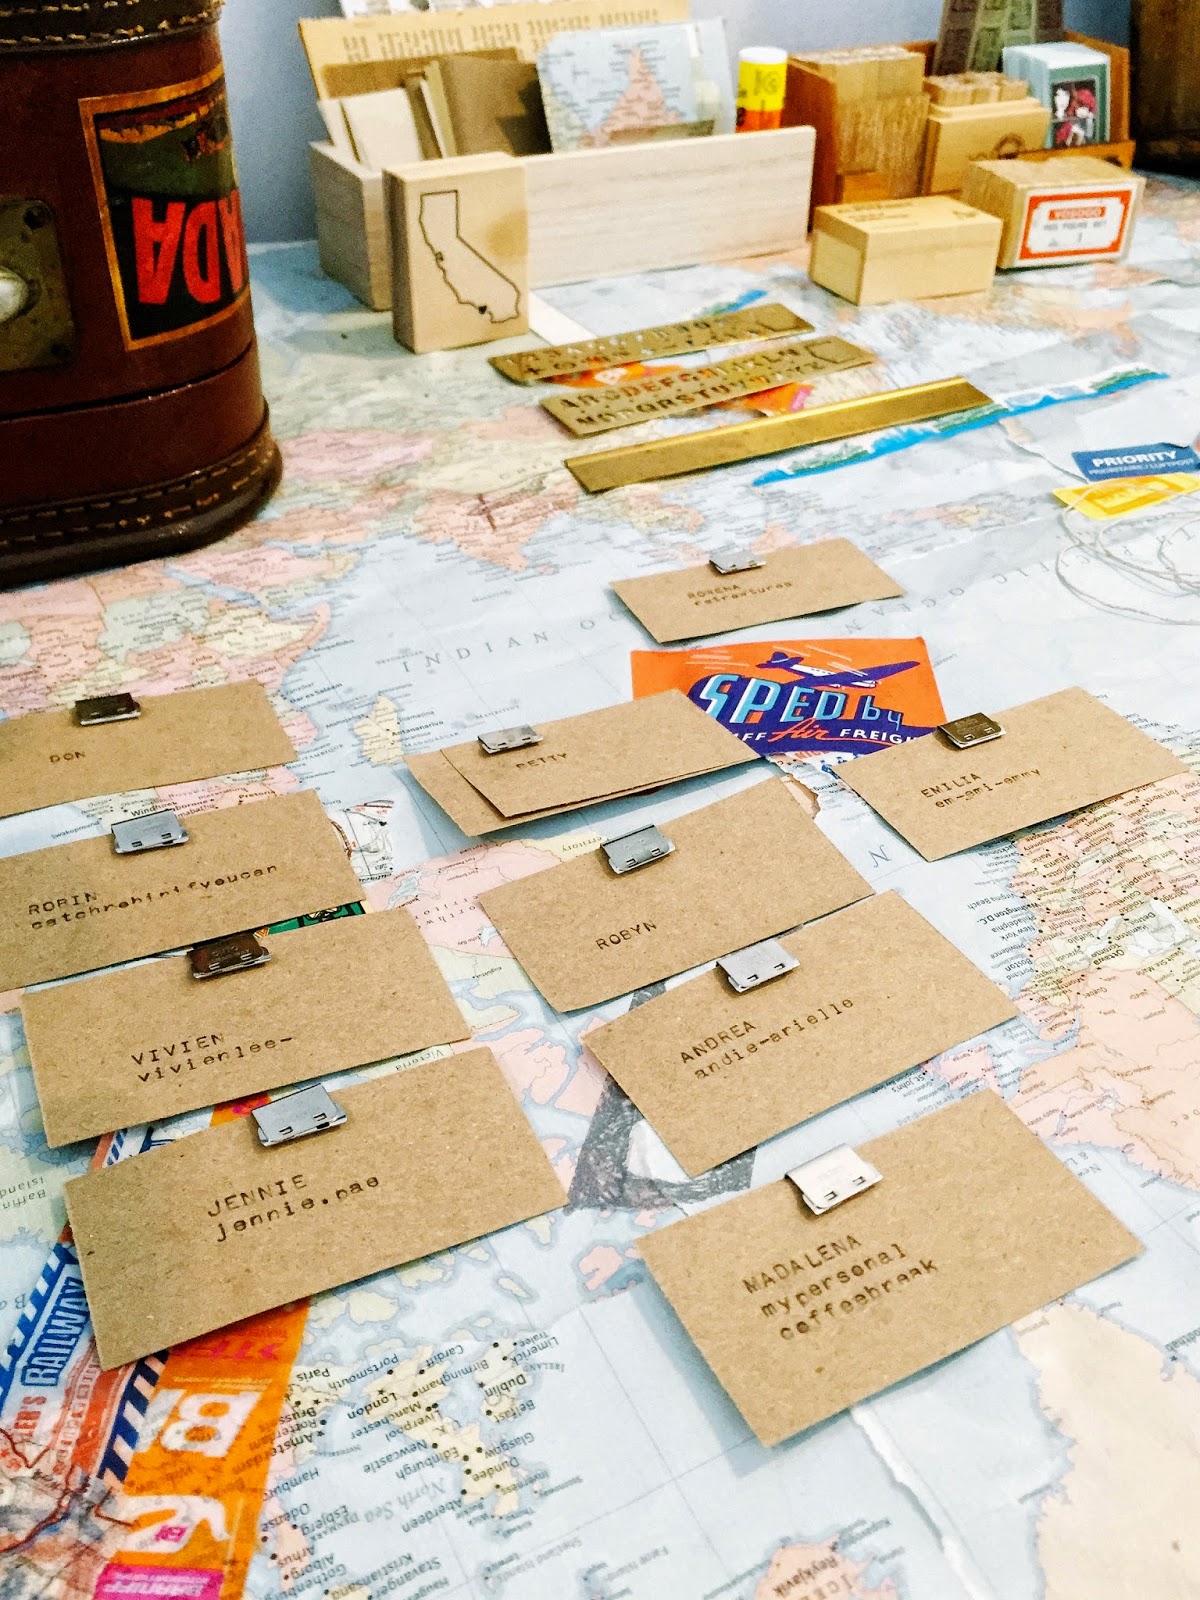
charming typewritten name tags for the attendees

the second analogue play table

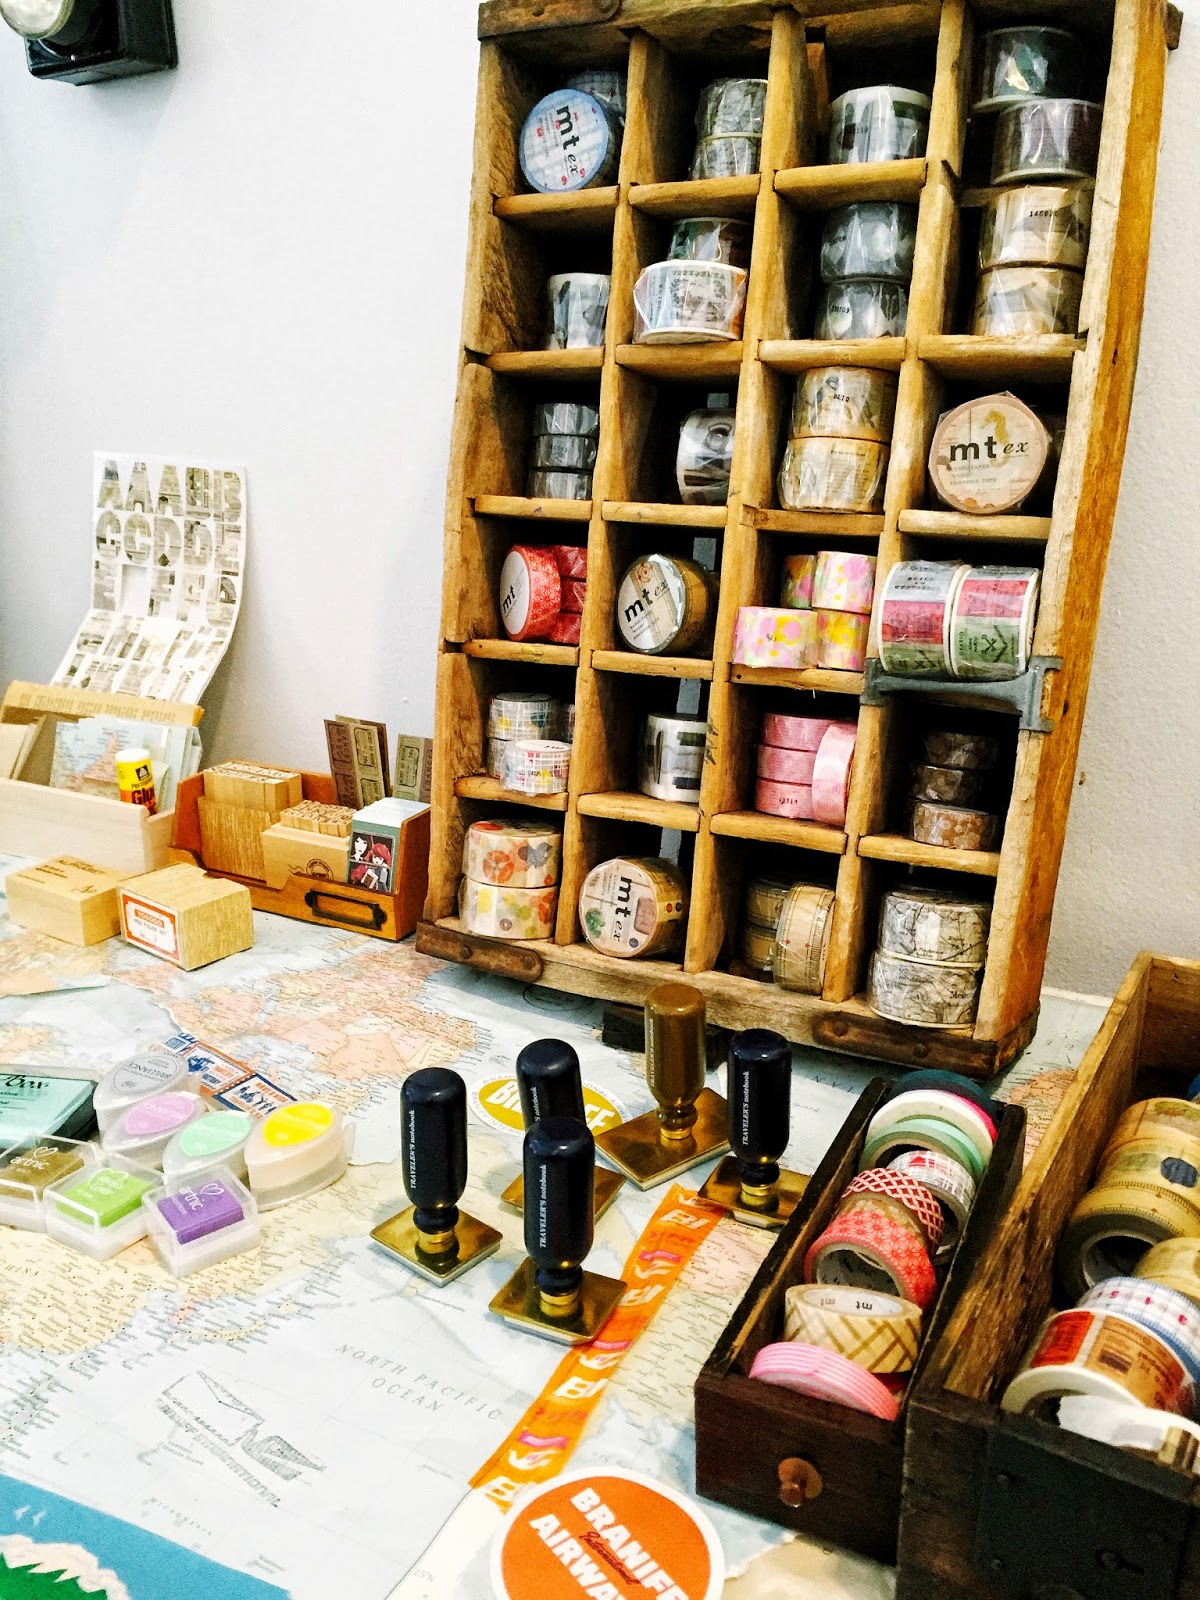
washi tape, Traveler's Factory Stamps, and ink pads

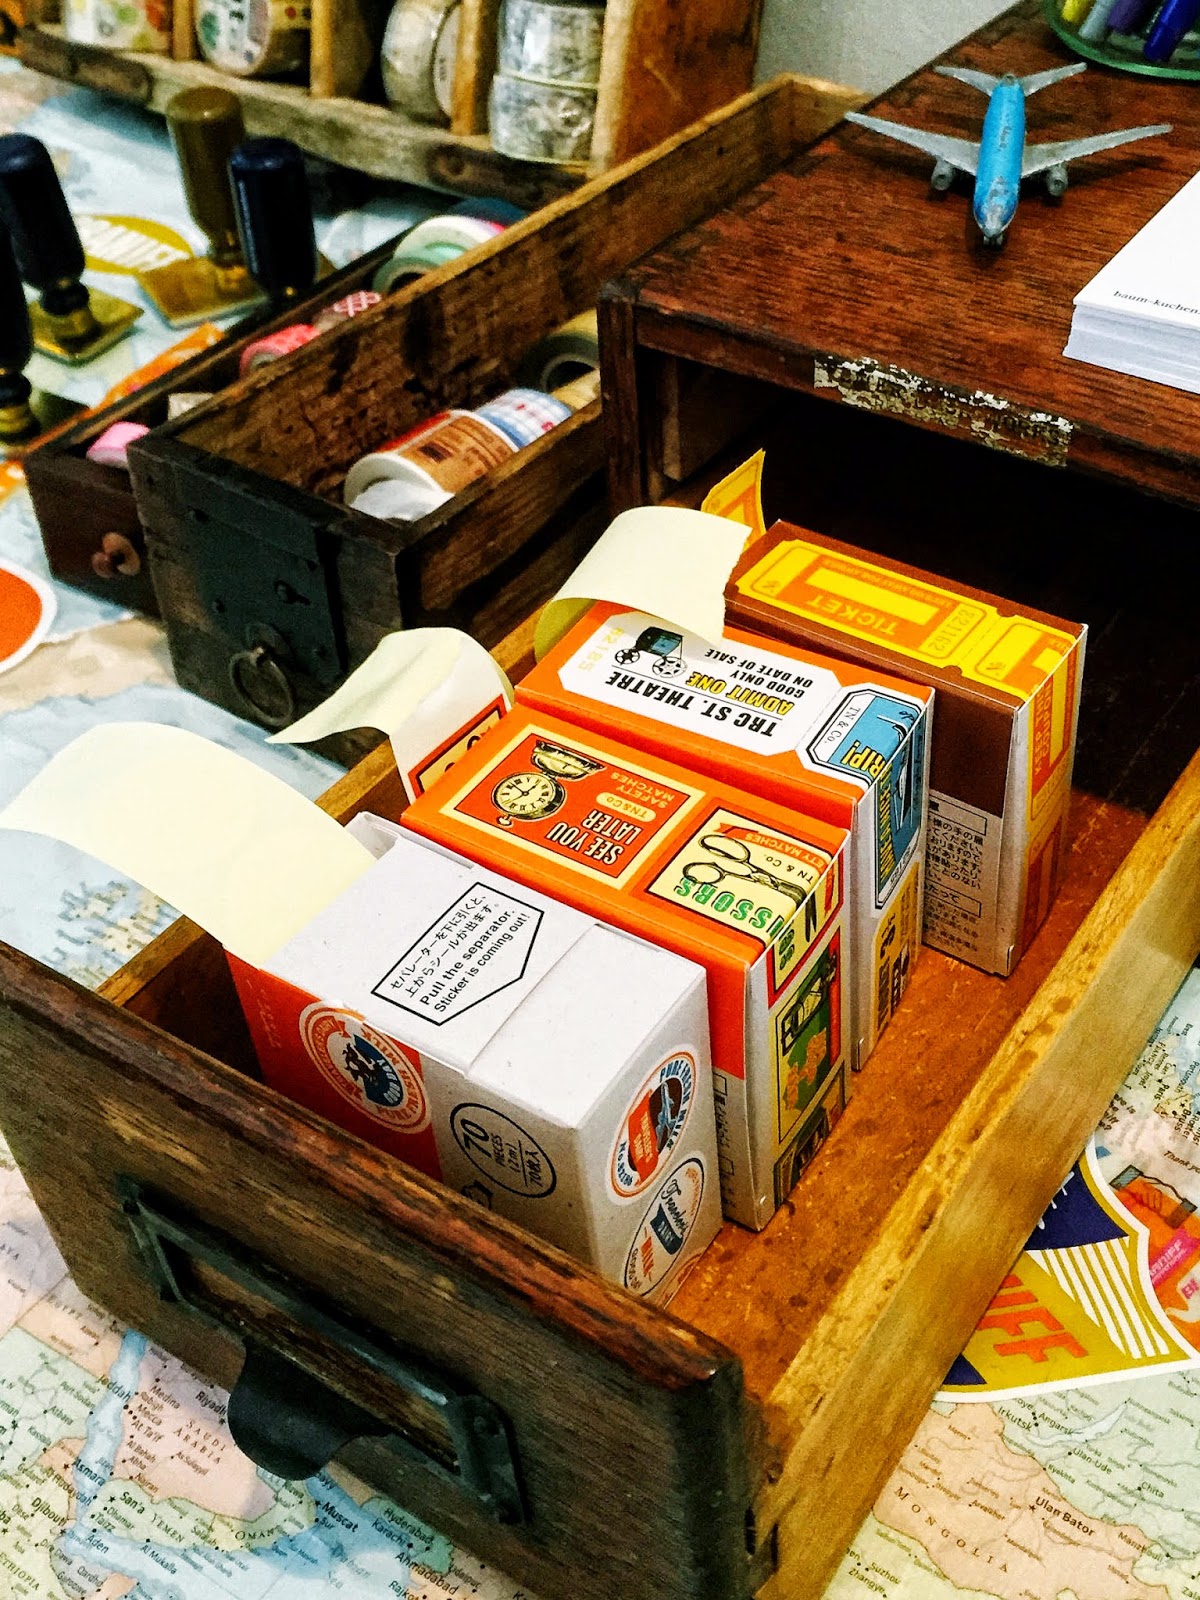
Traveler's Factory stickers

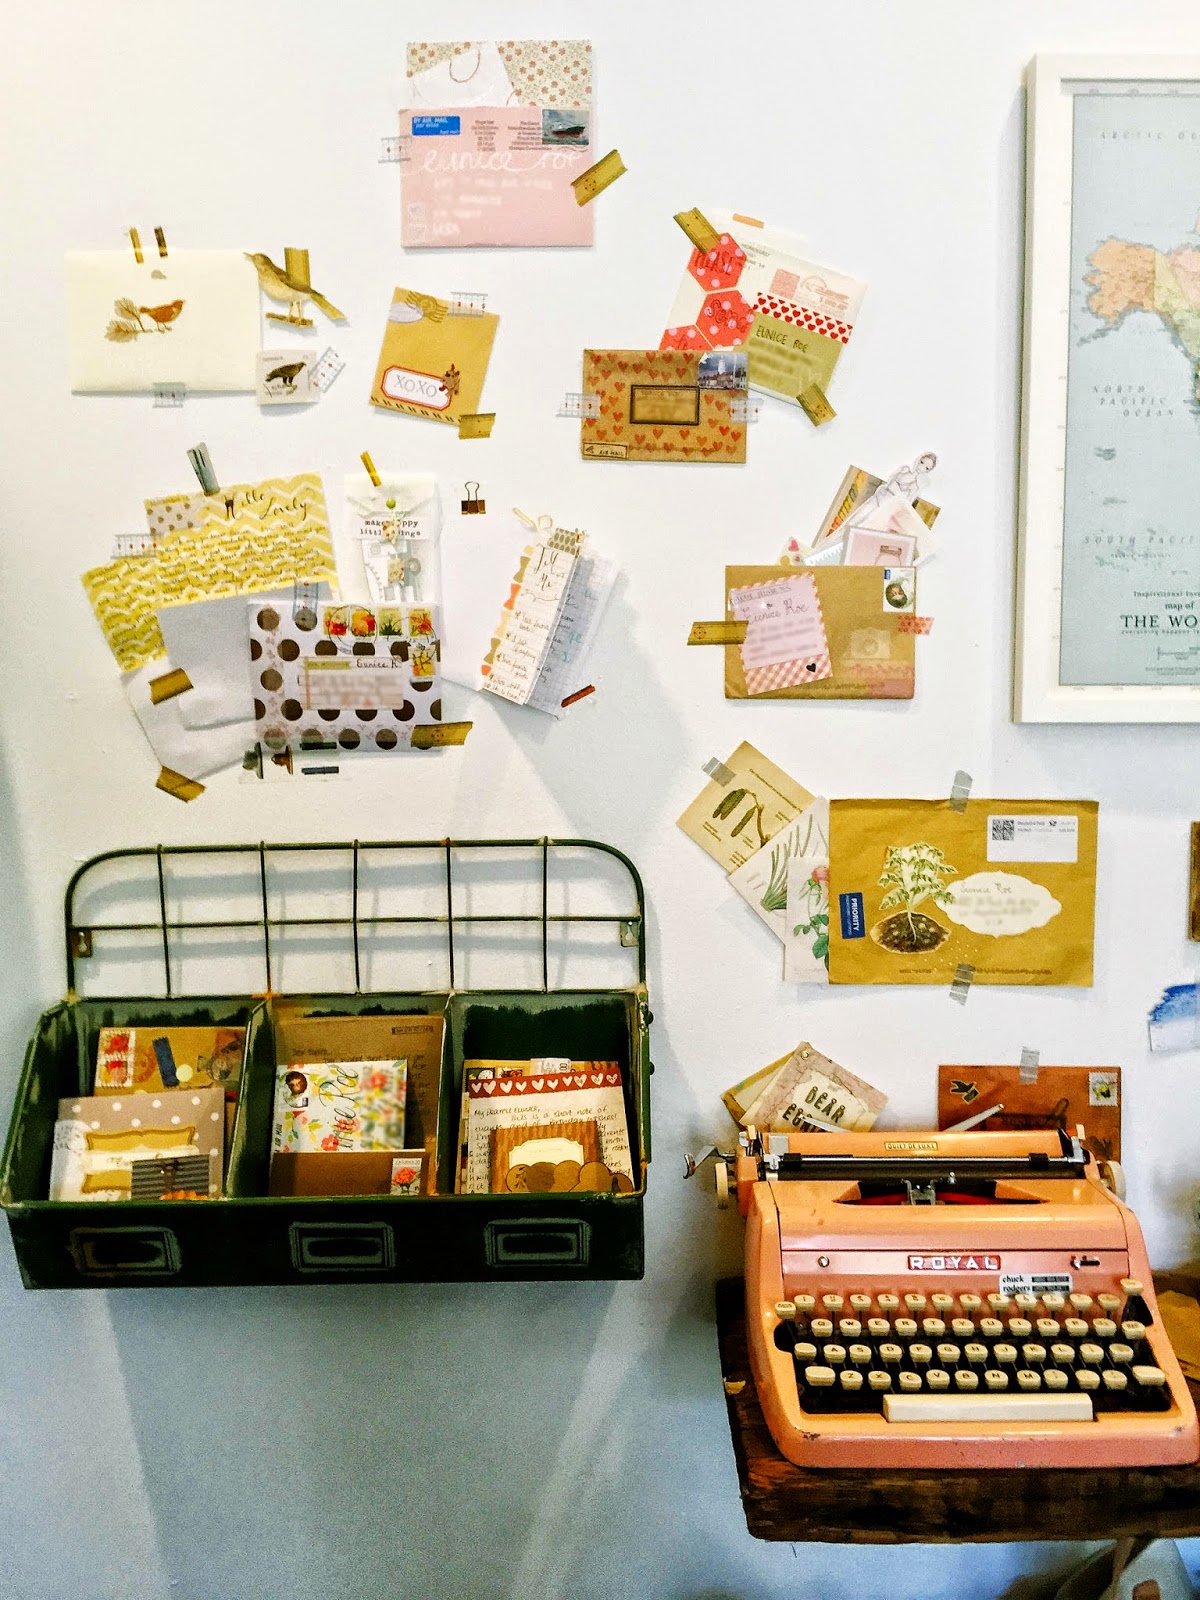
lovely letters and a vintage typewriter 
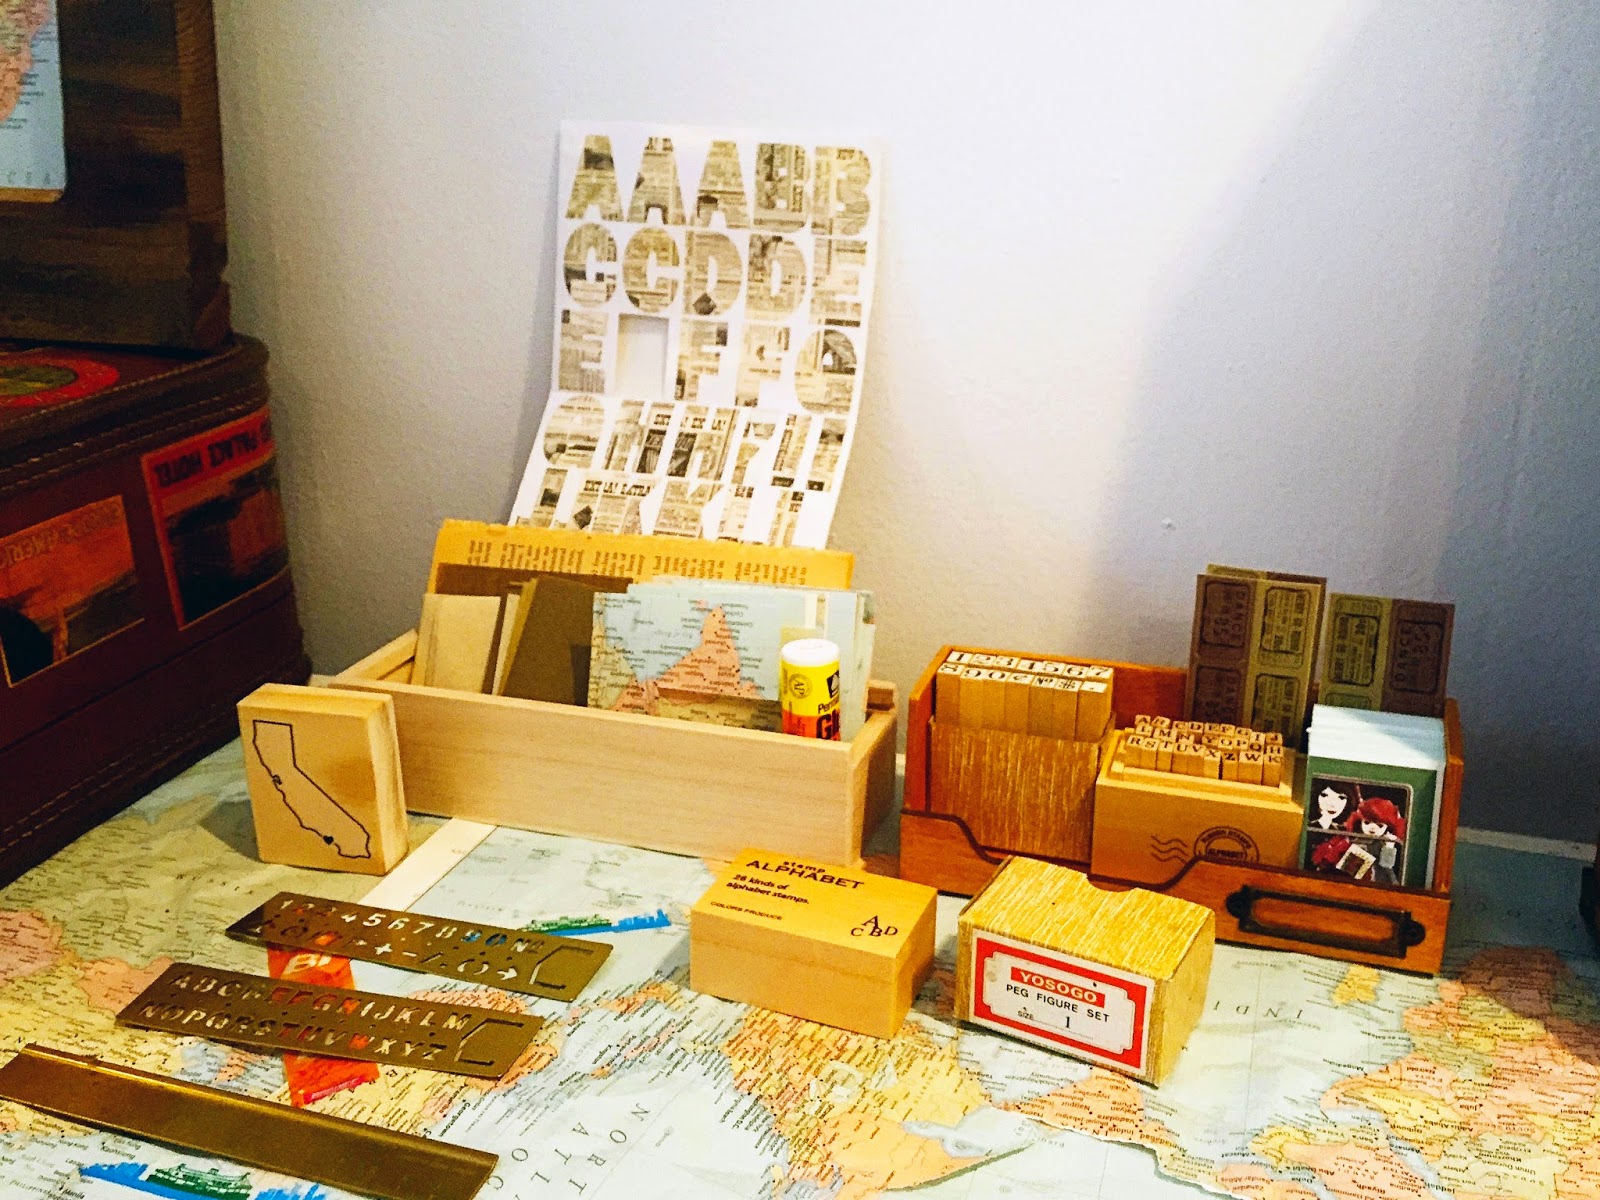
alphabet rubber stamps, stencils, and ephemera for the participants to use 
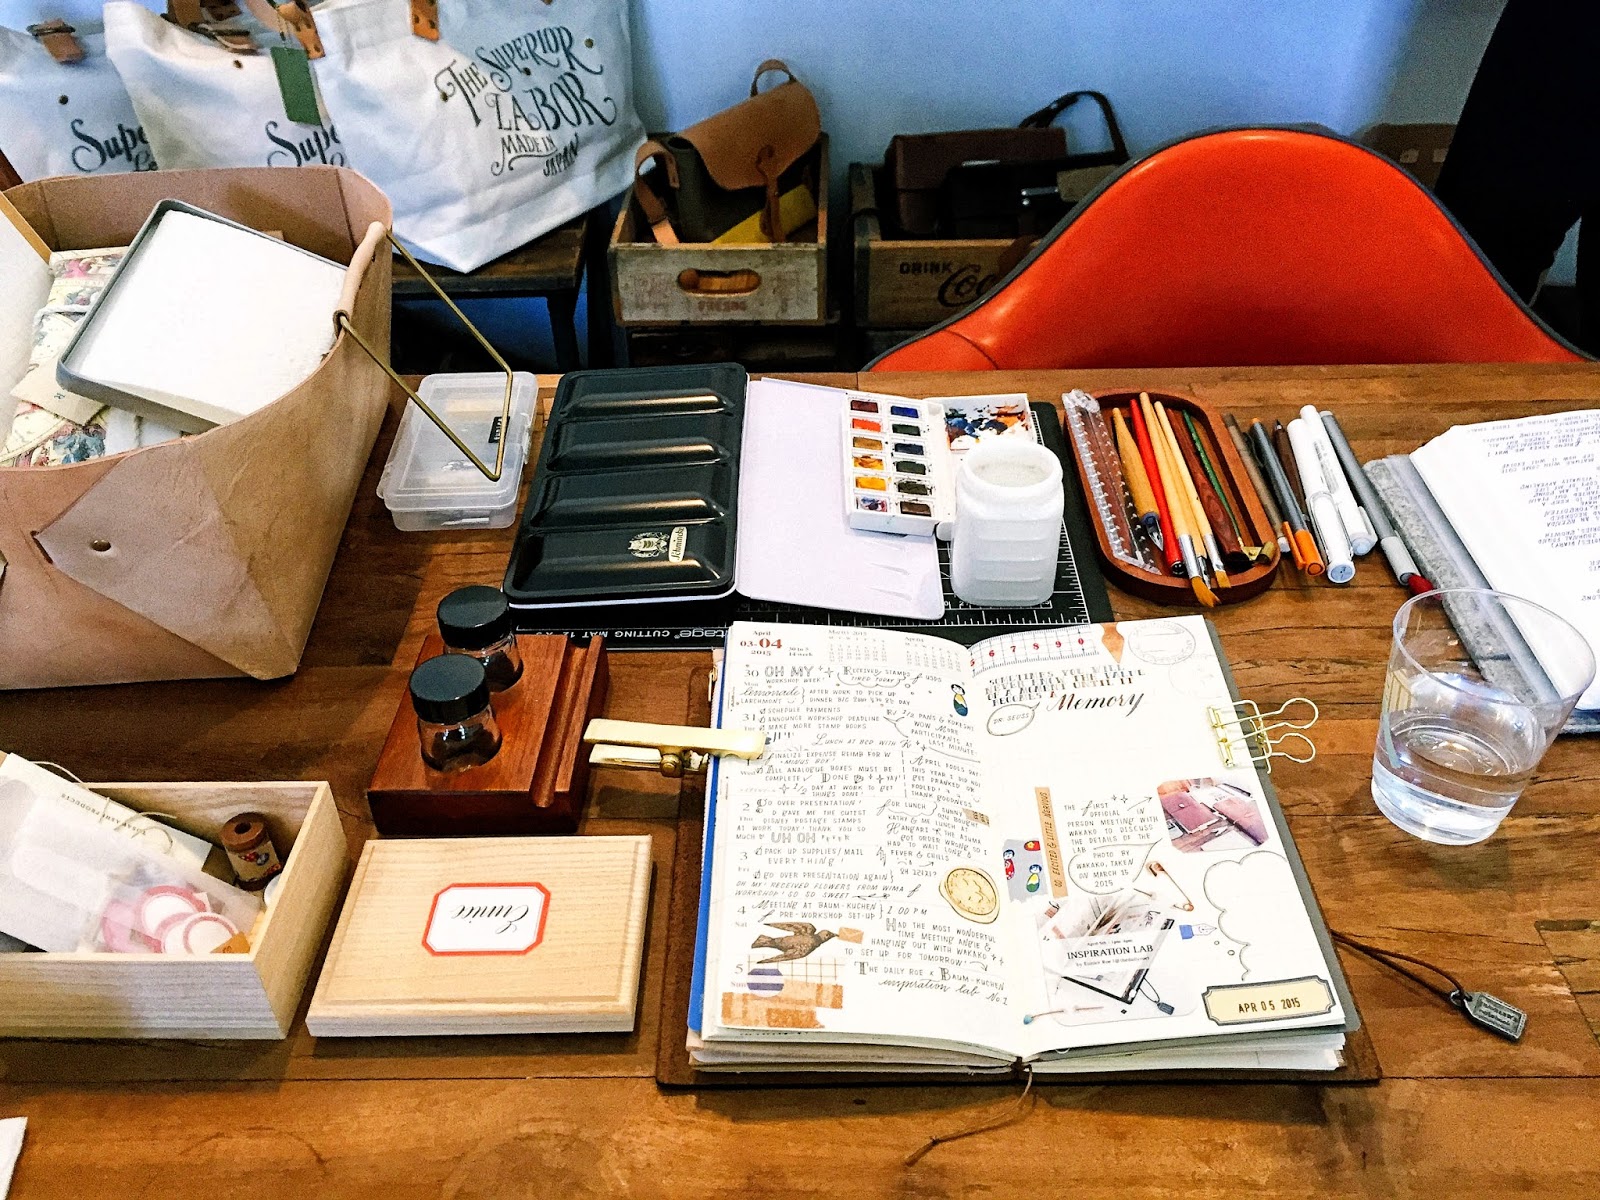
Eunice's workstation

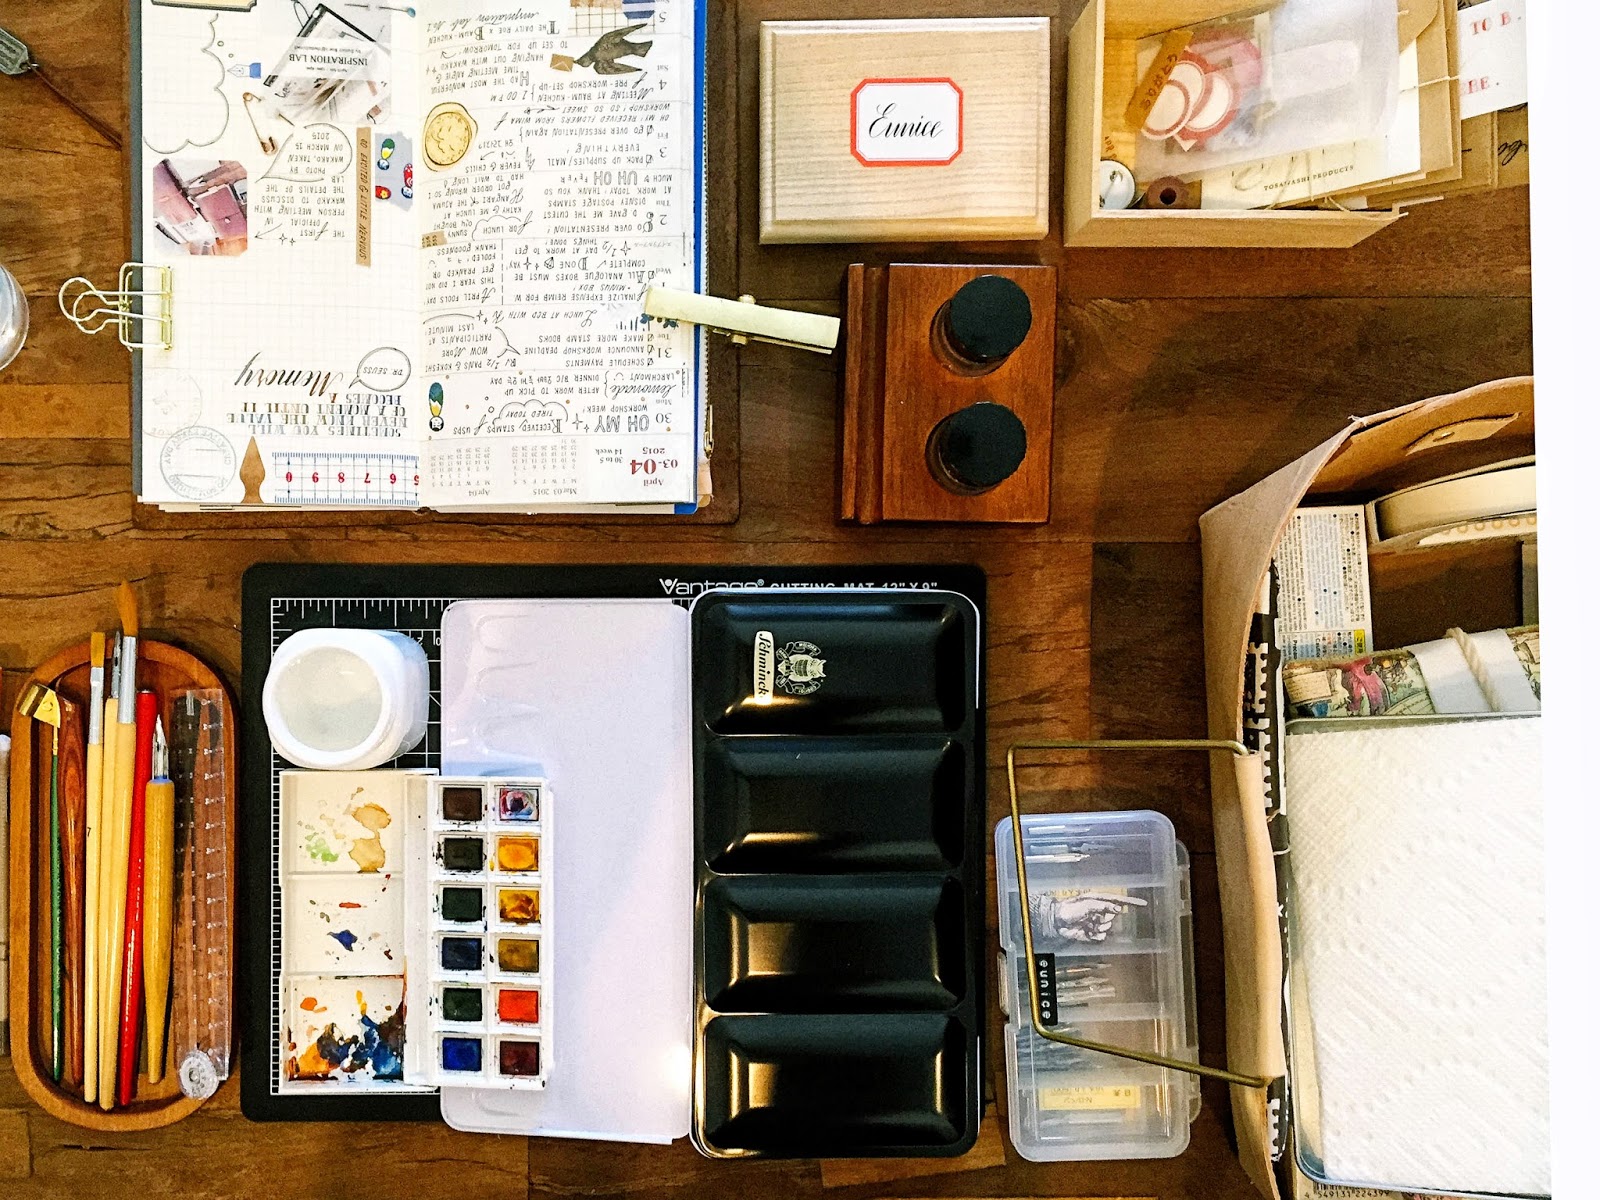
another view of her workstation
After everyone had arrived, Wakako and Eunice welcomed us and asked each person to introduce themselves to the group and share a little bit about their journaling experiences and their reason for coming to the workshop. I had never seen so many Traveler's Notebooks in one room! Having no family or friends who journal, it was great to meet other journalers, hear their interest and goals, and get a peek inside their personal journals.

Eunice shared her story as well. She told us how both of her parents were art majors and how she started journaling as a child in elementary school. Eunice shared her earlier journals with us and explained how her style has evolved over the years, from cute to the elegant vintage style she is known for today.

Eunice talked about why she journals and takes the time to create her incredibly beautiful and detailed pages. She went through all the different materials and tools she uses to create her spreads. She walked us through the process of how she creates her weekly pages and shared lots of helpful tips. Eunice even showed us how to make washi tape stickers using parchment/baking paper from Daiso.

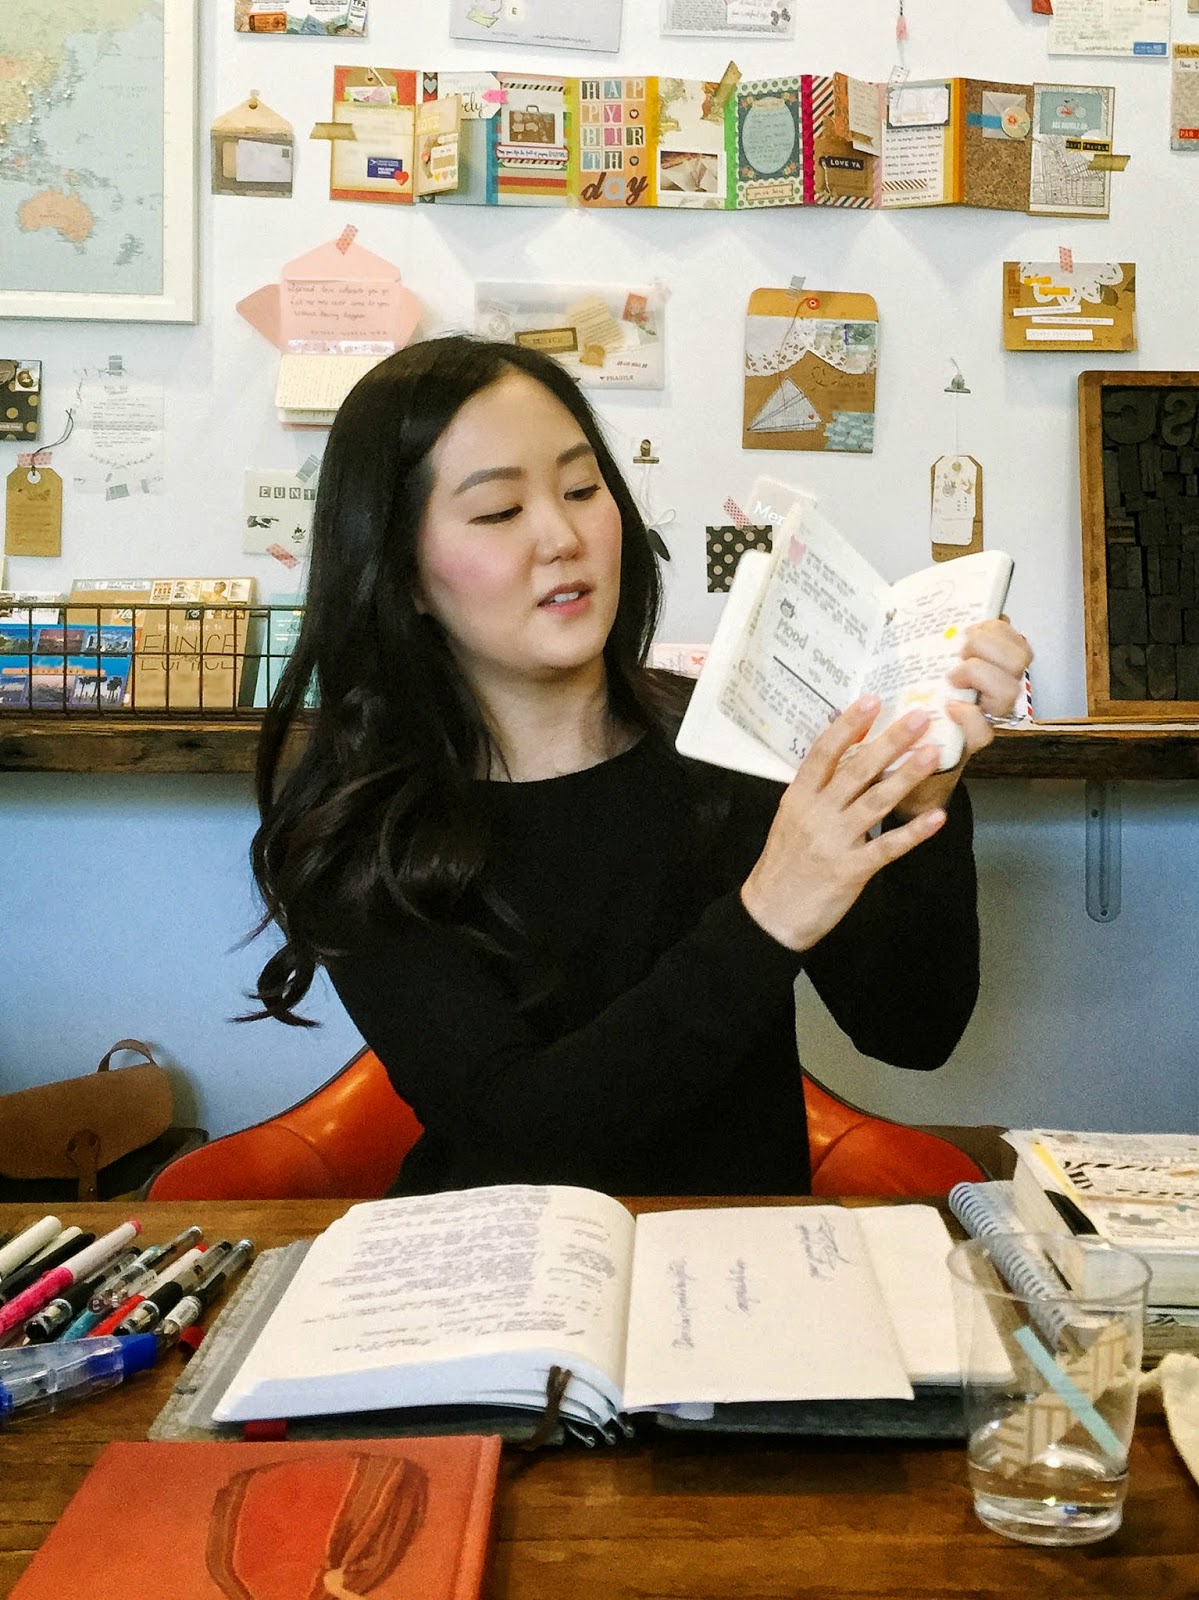
Eunice shares her early journals

Eunice demos how to make washi tape stickers
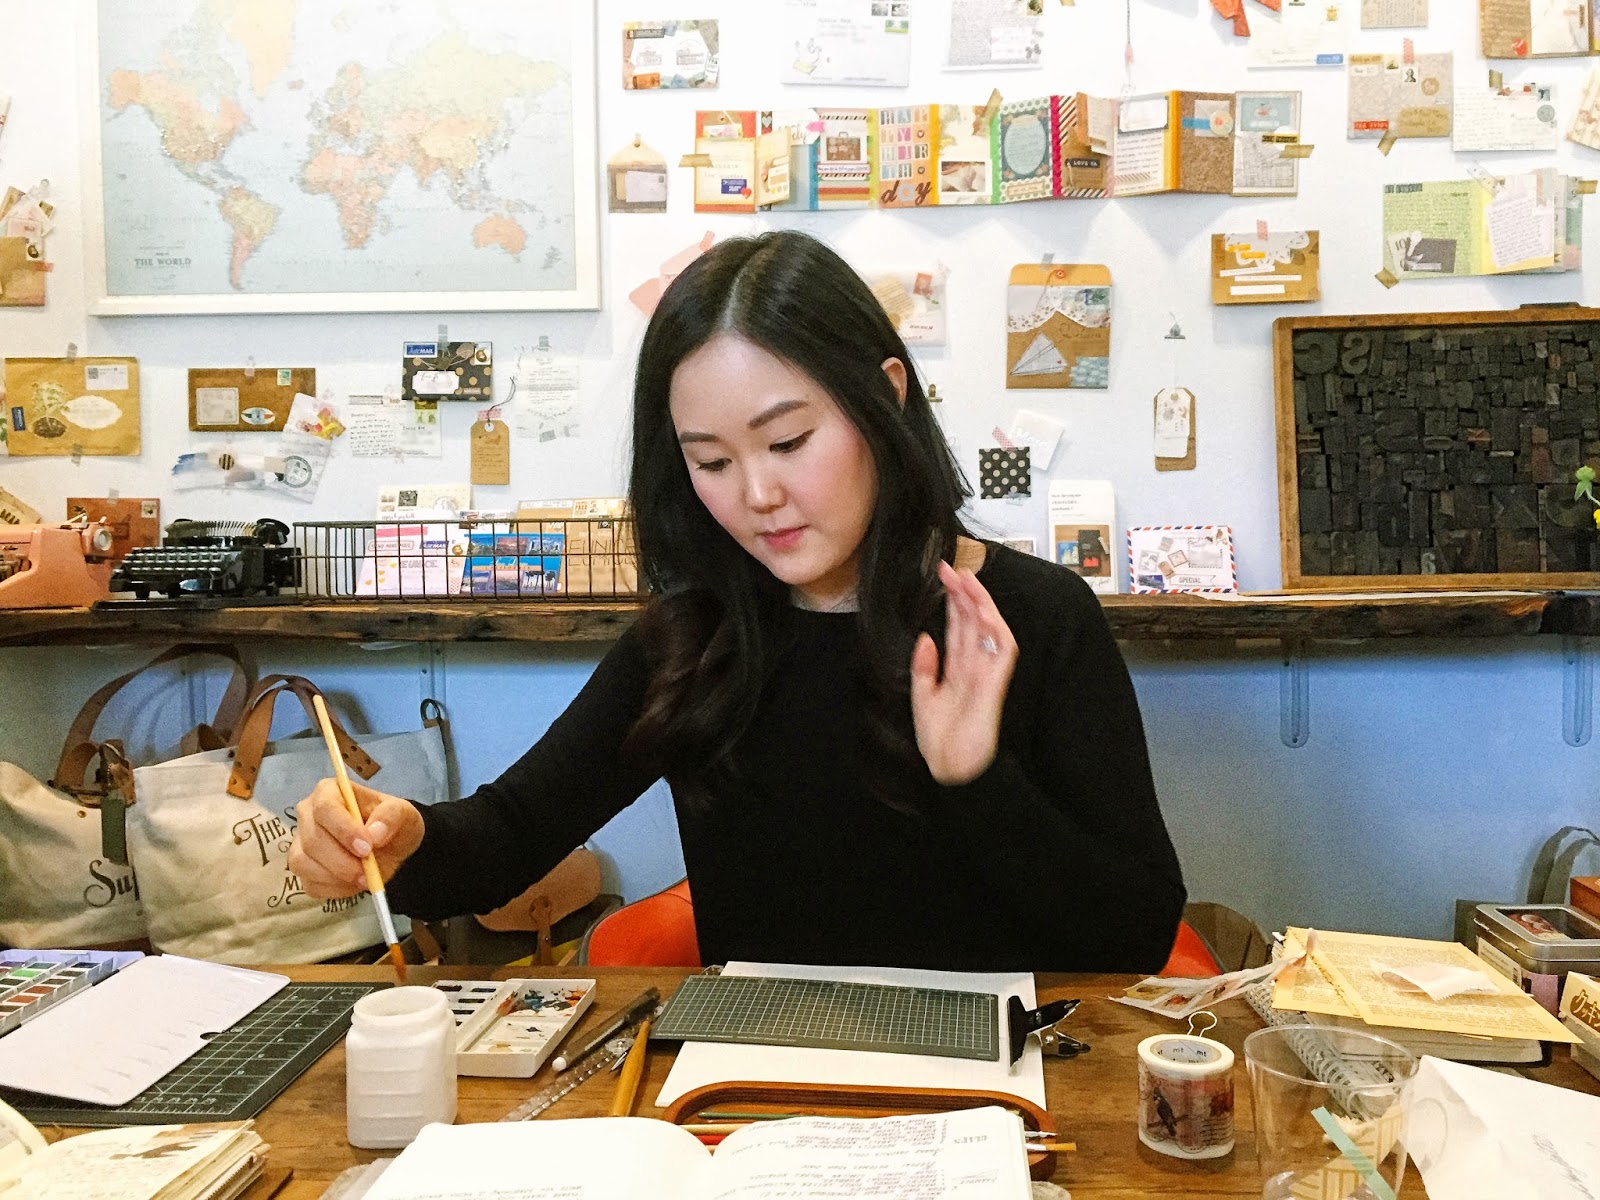
Lastly, Eunice demonstrated how she uses watercolors and a calligraphy nib to hand letter quotes in her Traveler's Notebook. She uses a paint brush to load the watercolor onto the nib, changing the colors from time to time to create the gorgeous color gradients that appear in the letters. A lot of patient and painstaking work goes into those beautiful quotes you see on her pages.

Getting ready for the watercolor calligraphy demo

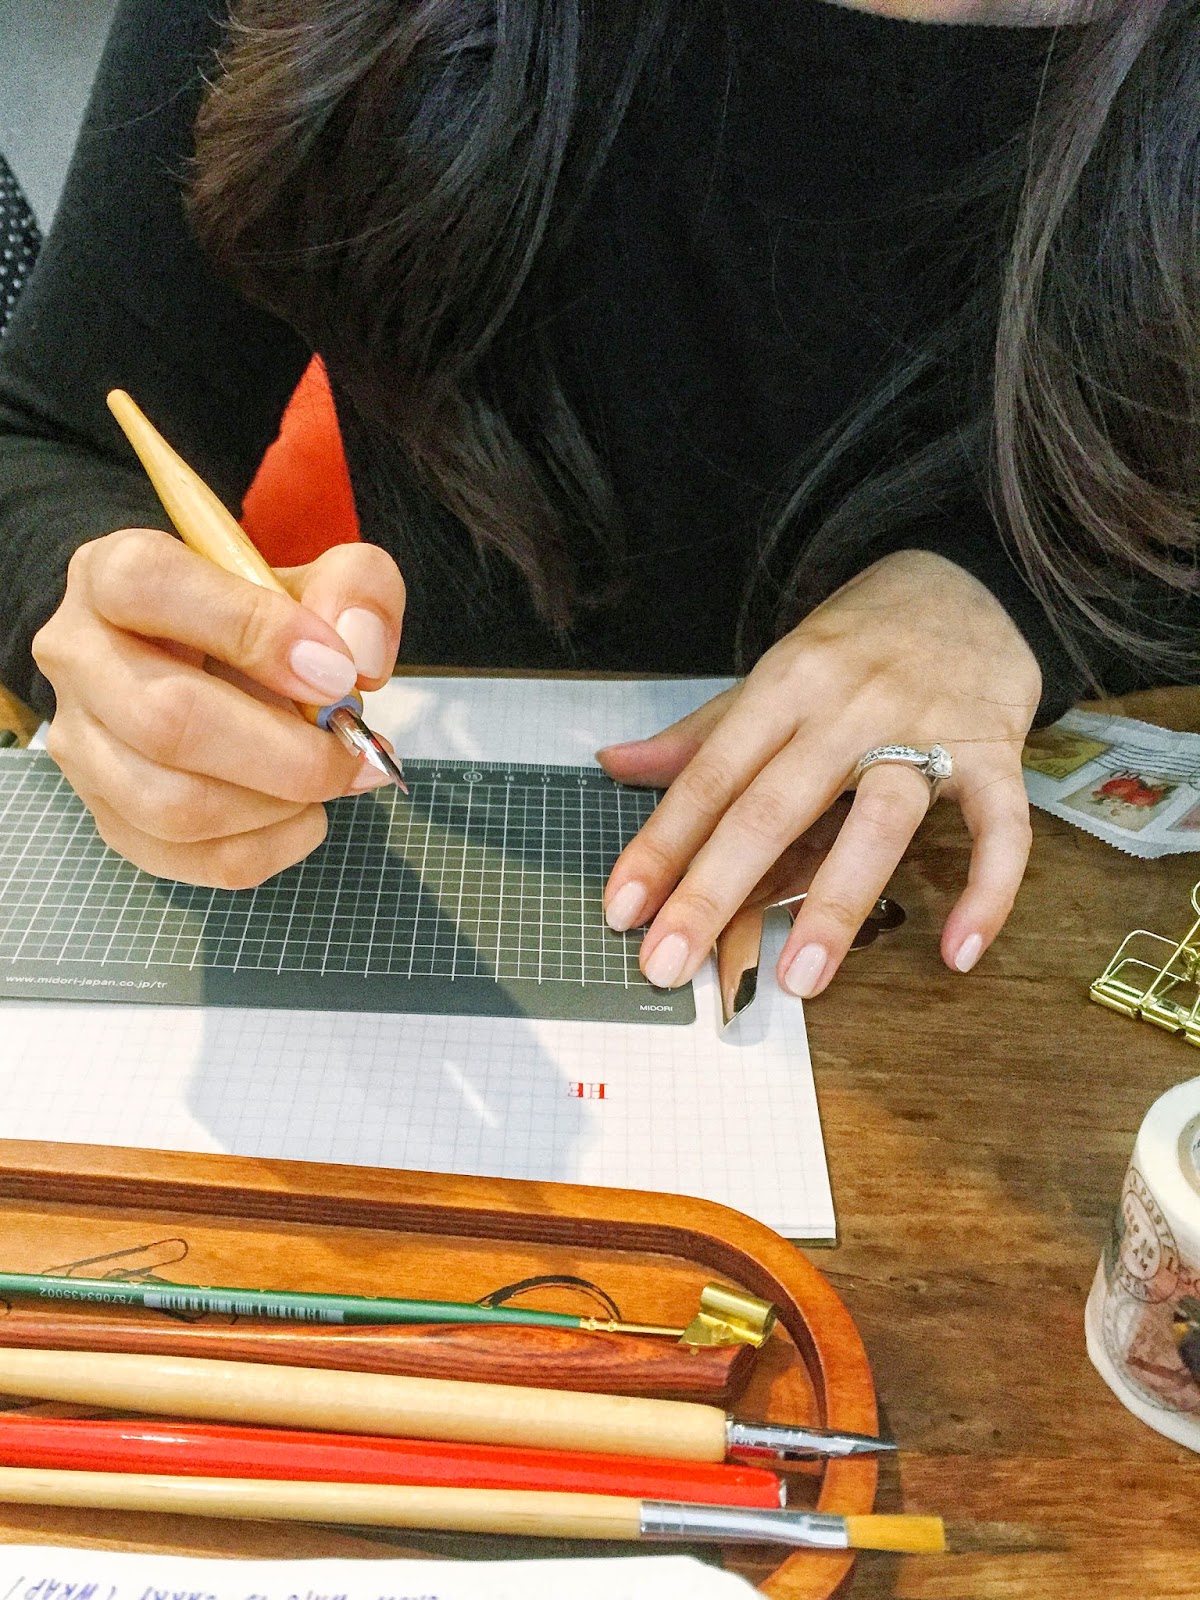
Eunice shows us how she letters the quotes you see on her weekly TN spreads

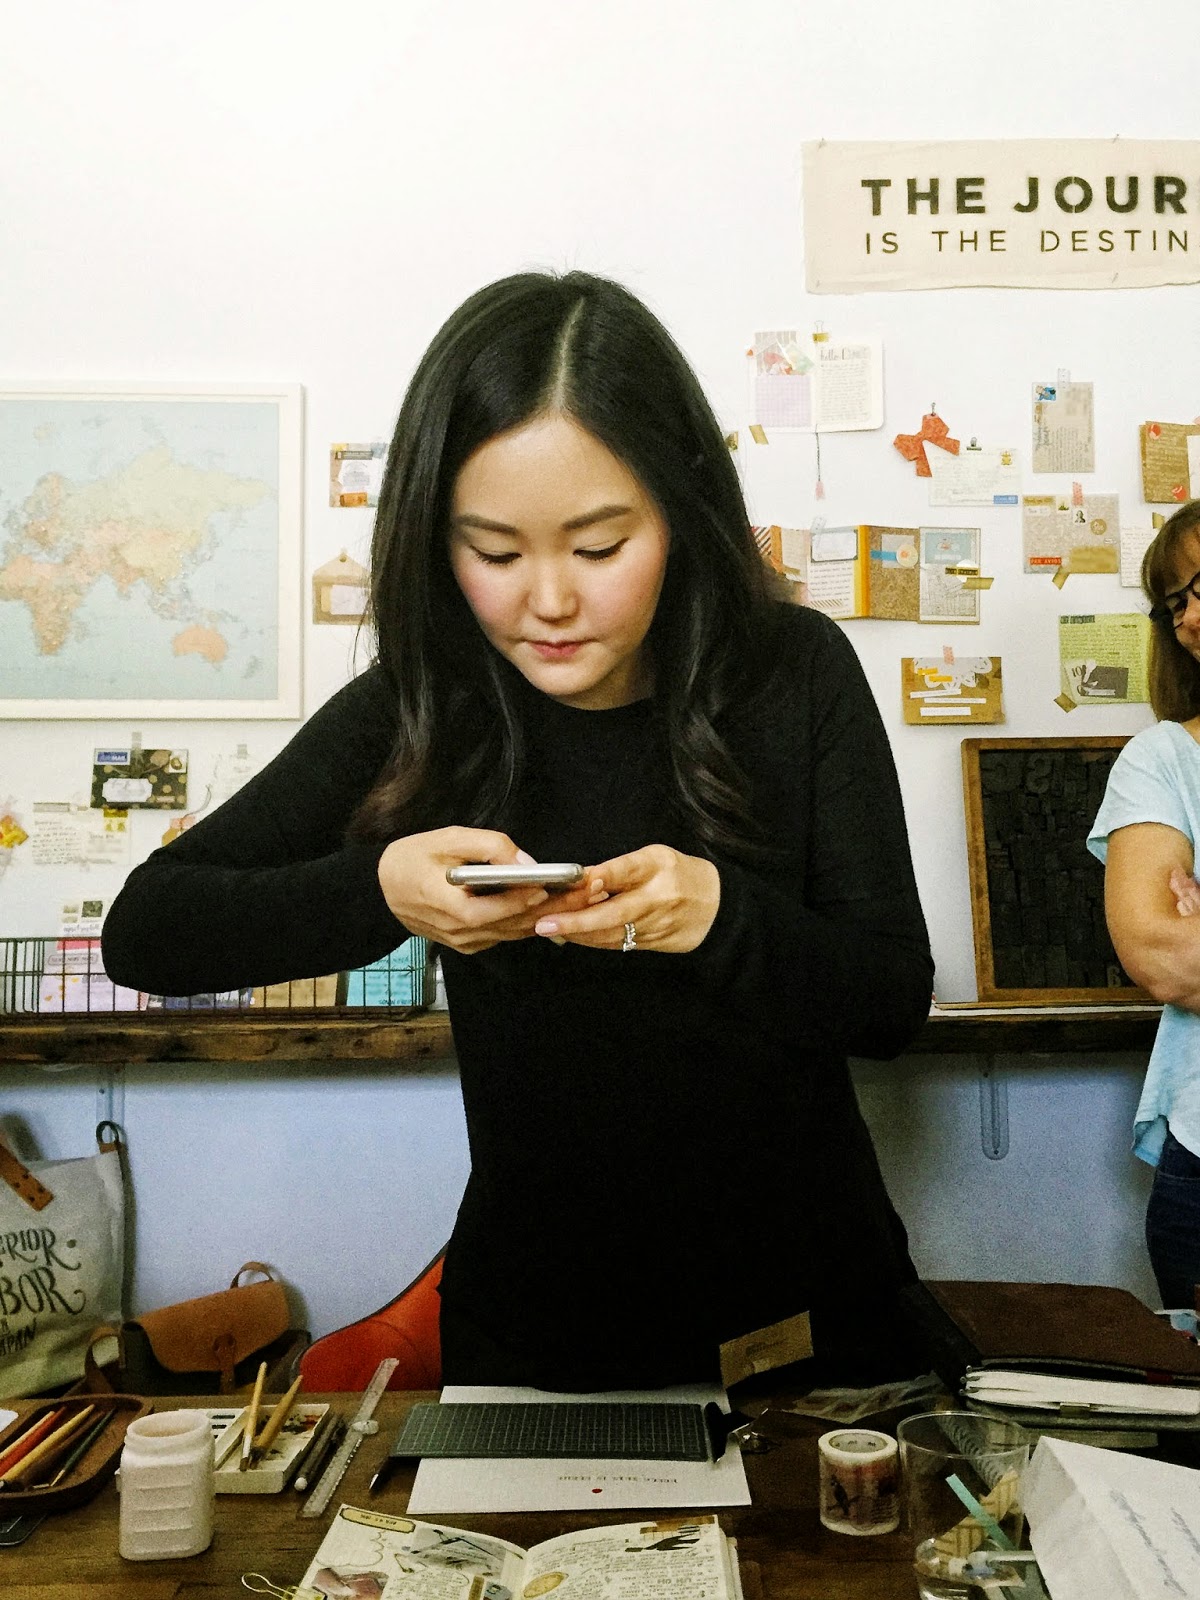
Eunice explains how she photographs her spreads for IG


The workshop participants then mingled, snacked on goodies from Lemon Poppy Kitchen, shopped (of course!), had fun with the Traveler's Notebook "photo booth," and worked on their journals using the materials and tools provided at the two analogue tables Wakako, our gracious host, and Eunice had set up.  Eunice answered questions and hand lettered personal messages in the journals of everyone who asked.
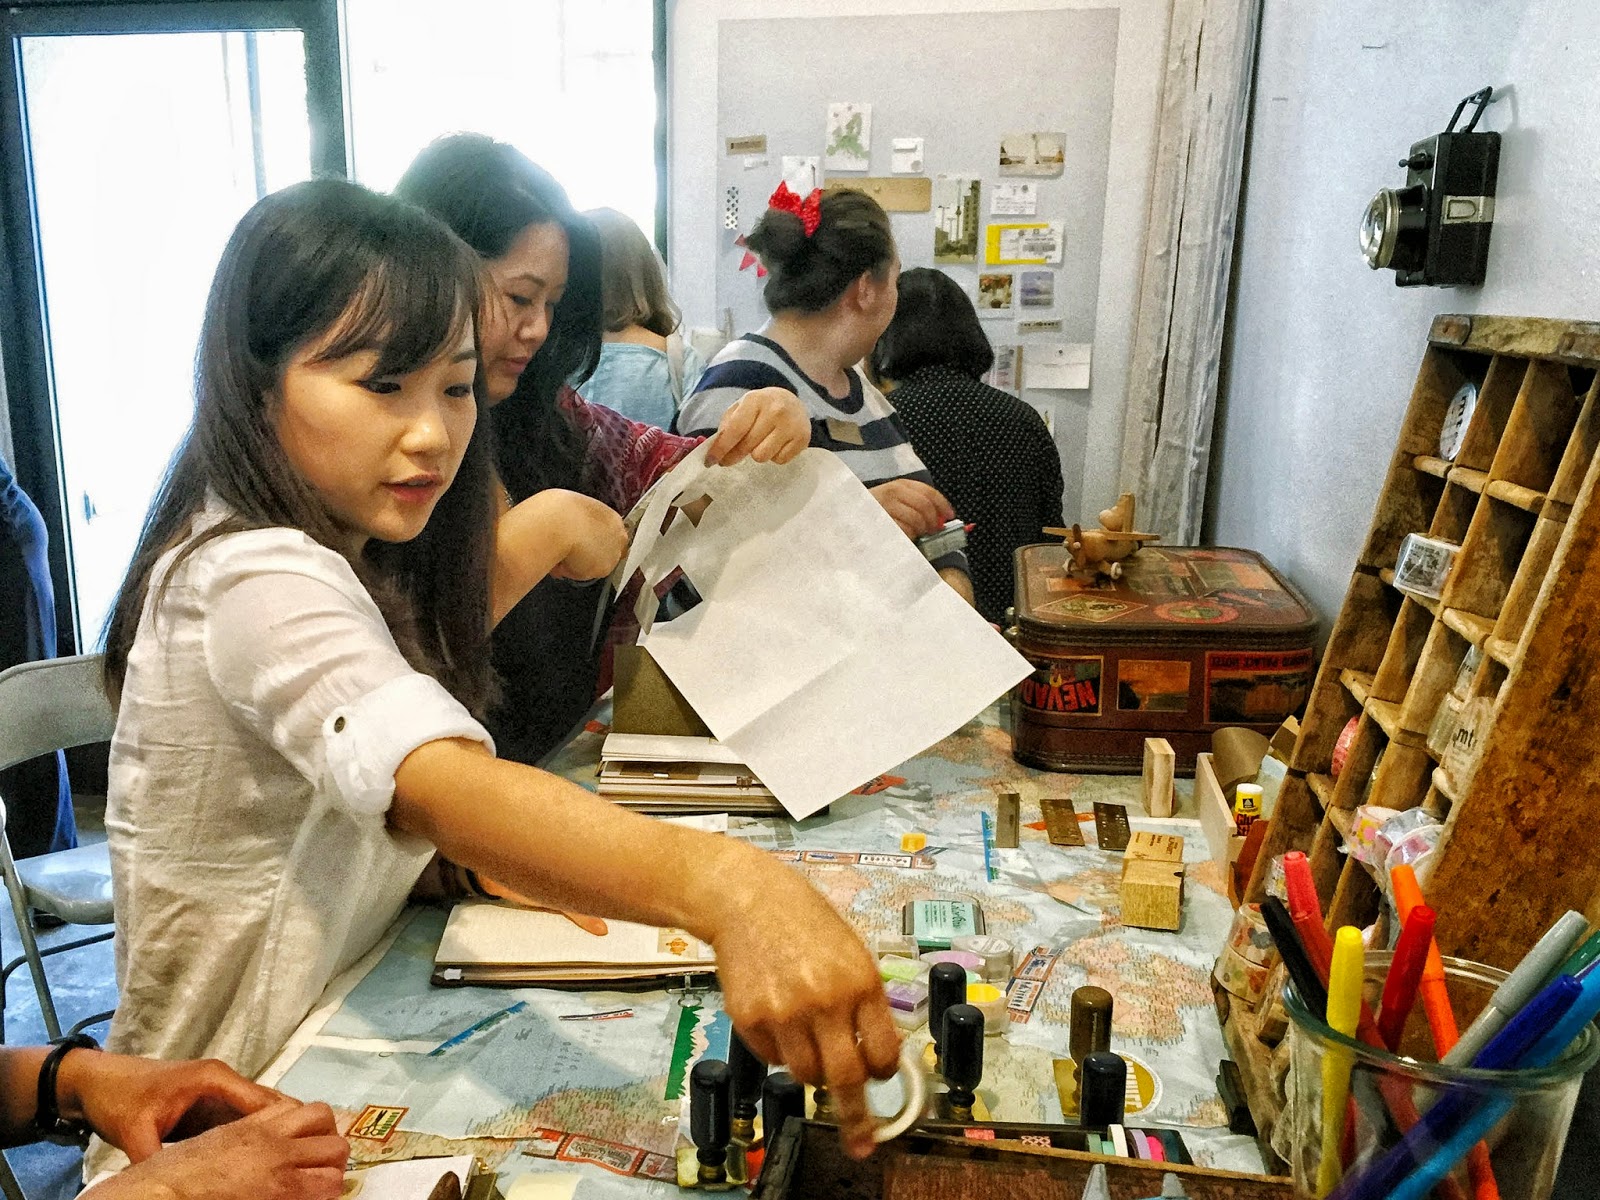
Workshop participants try out the goodies at the analogue tables

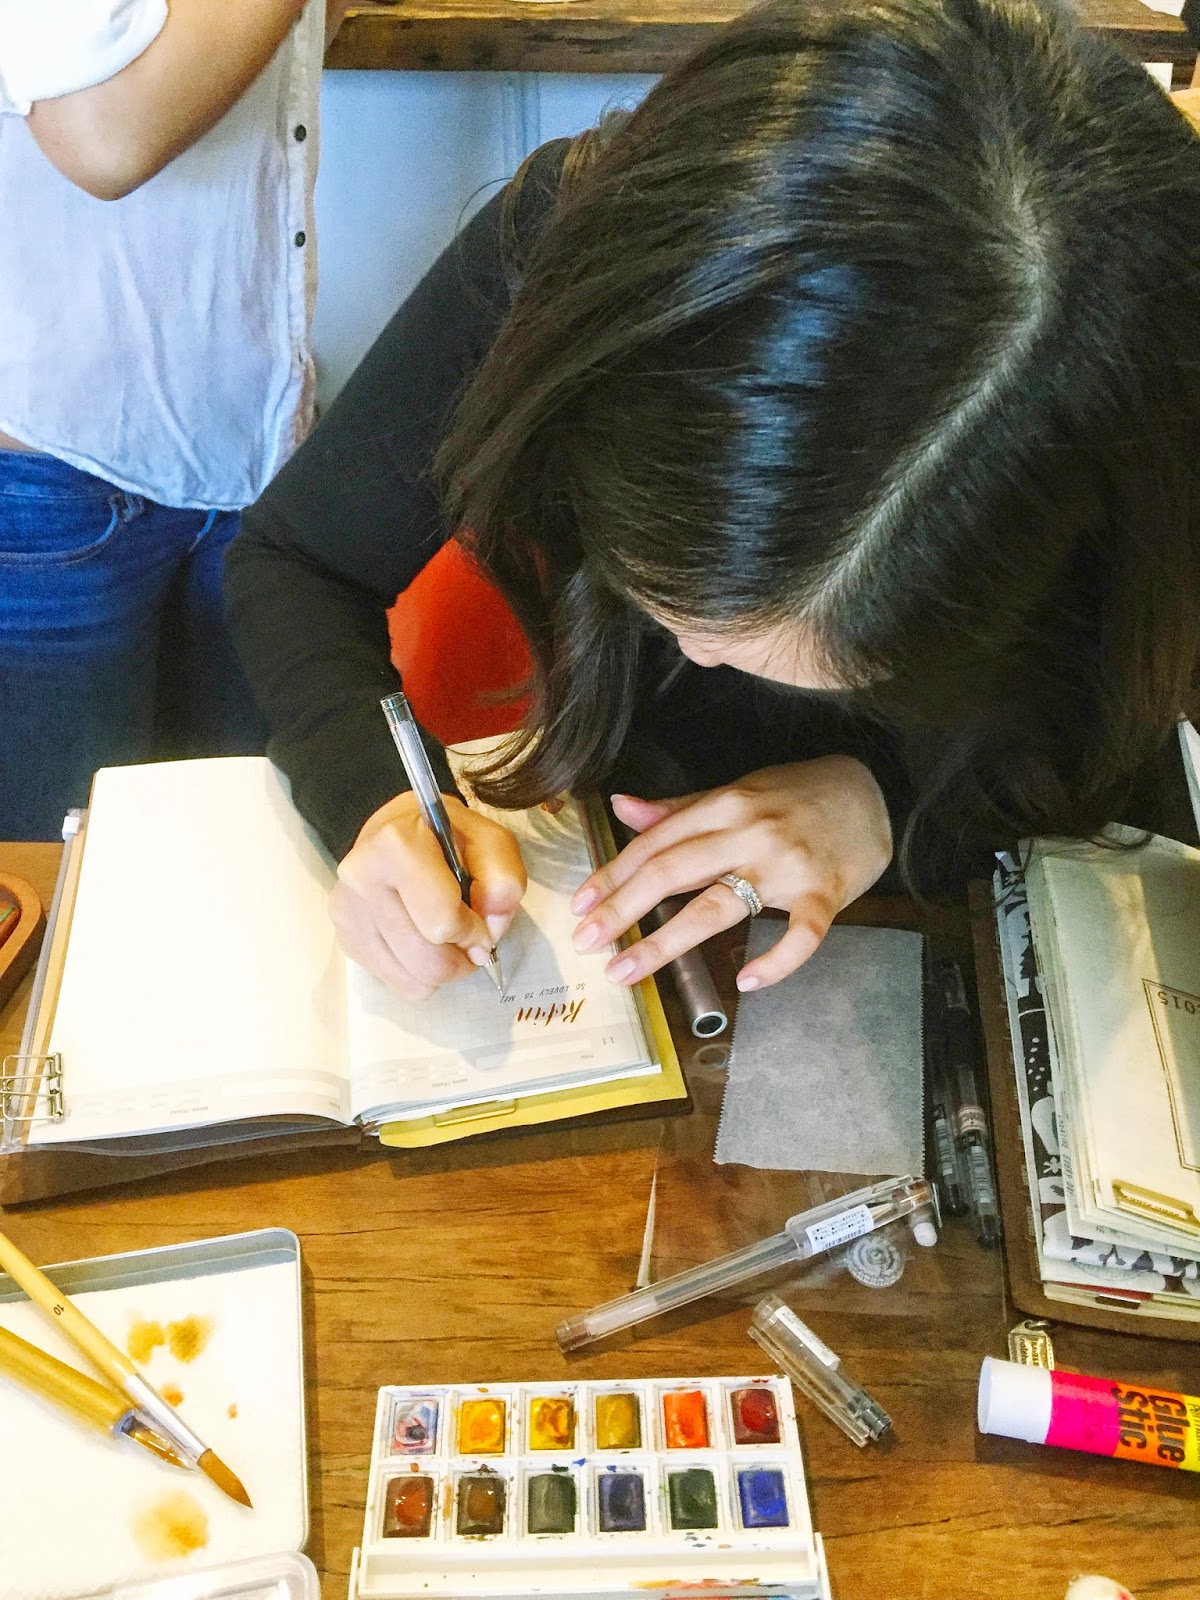
Eunice lettering a message in an attendee's journal
Many thanks to Wakako and Eunice for a truly enjoyable workshop, and I eagerly look forward to Inspiration Lab No. 2!


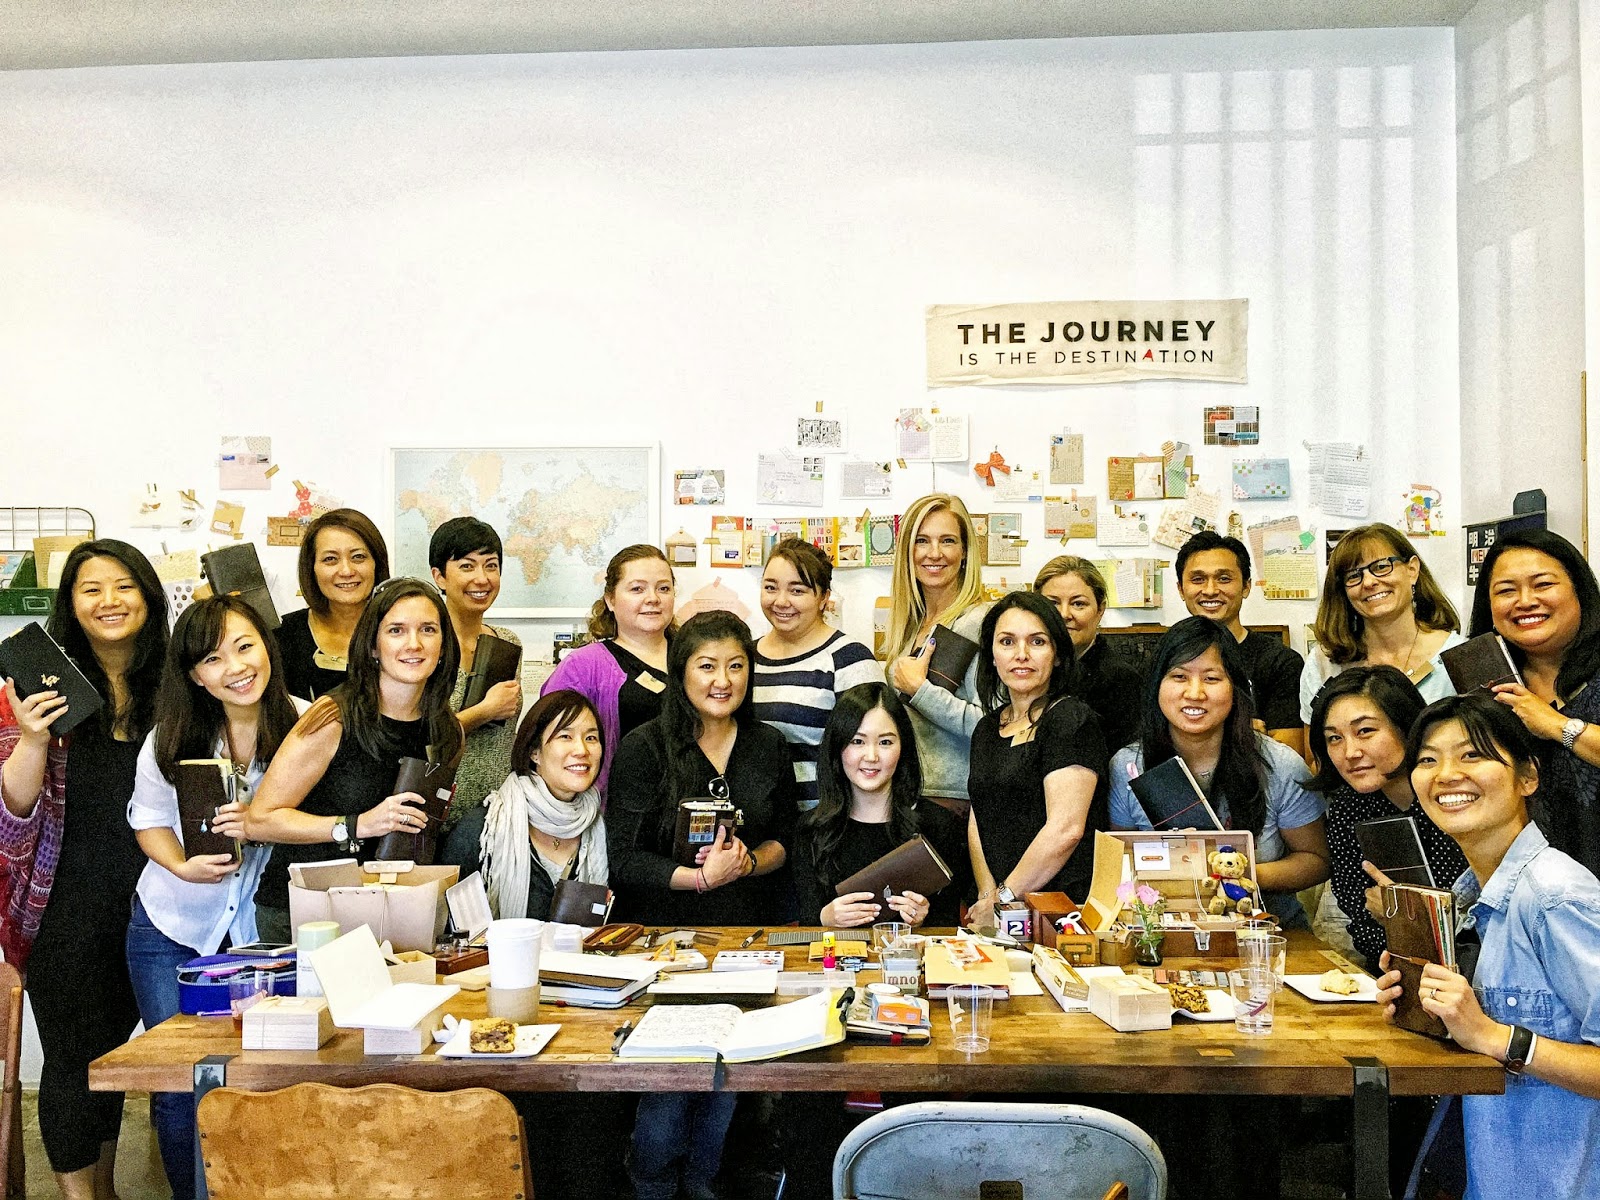
A great time was had by all, and we can't wait to do it again!

pepper and twine. All rights reserved. © Maira Gall.